
|
Shane's R2 Build Log
|
|
|
Shane's R2 Build Log
|
Body: Front VentsAttaching the WorrParts front vent assembly to the A&A frame took some thought. The A&A comes with a front vent holder that can be useful if your vents and surrounds are separate pieces. And in fact, my first set of homemade vents would have worked just fine on this frame. However, I wasn't too thrilled with the quality of those pieces, which is why I ended up with the vents from WorrParts. 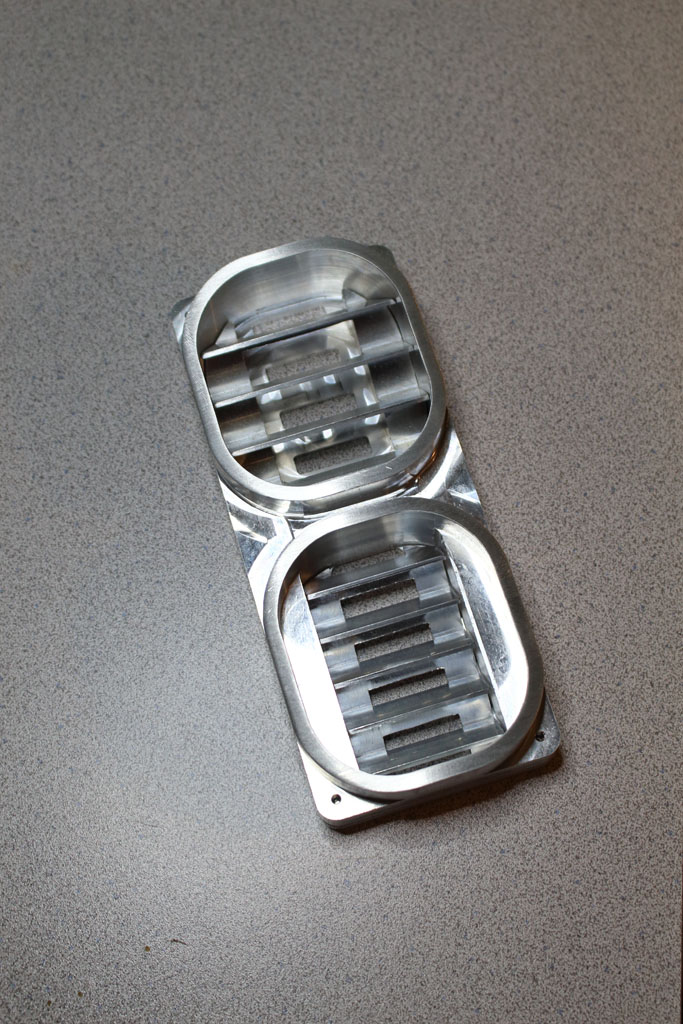 The first thing I did was ditch the A&A vent holder. It doesn't work for me. So I relegated it to the scrap pile. I then began creating a new holder from 1/2" aluminum stock. The Worr vents have some nice slots machined out on the sides that are meant for set-screws. This made the preciseness of my holder layout less of an issue. The important bit was that it held the vents at a reasonable horizontal position relative to the skins. After taking a number of measurements, I cut two 8 1/2" long pieces of aluminum stock for the vertical supports and and two 4" long pieces for the horizontal supports. On each of the vertical supports, I drilled and tapped 4 holes for 1/4"-20 screws on one side. These holes were for the set screws, and in fact I used socket cap screws for these. On the other side, I drilled and tapped holes 1/2" end from each end for 1/4"-20. These holes are where the horizontal supports attach. On each of the horizontal supports, I drill and tapped 2 holes for 1/4"-20 screws on one side. The holes should line up with the 1/4"-20 holes at each end of the vertical supports. On the other side, I drilled and tapped holes for #10-32 screws. These holes are for attaching to the A&A frame. Positioning the whole assembly within the frame took some trial and error before I was satisfied where it should sit. Once I was happy with it, I drilled the appropriate holes in the frame and countersunk them. Putting everything together, it looks like so. (Yes, the photos are upside down. That's how I happened to be working on R2 at the time.) 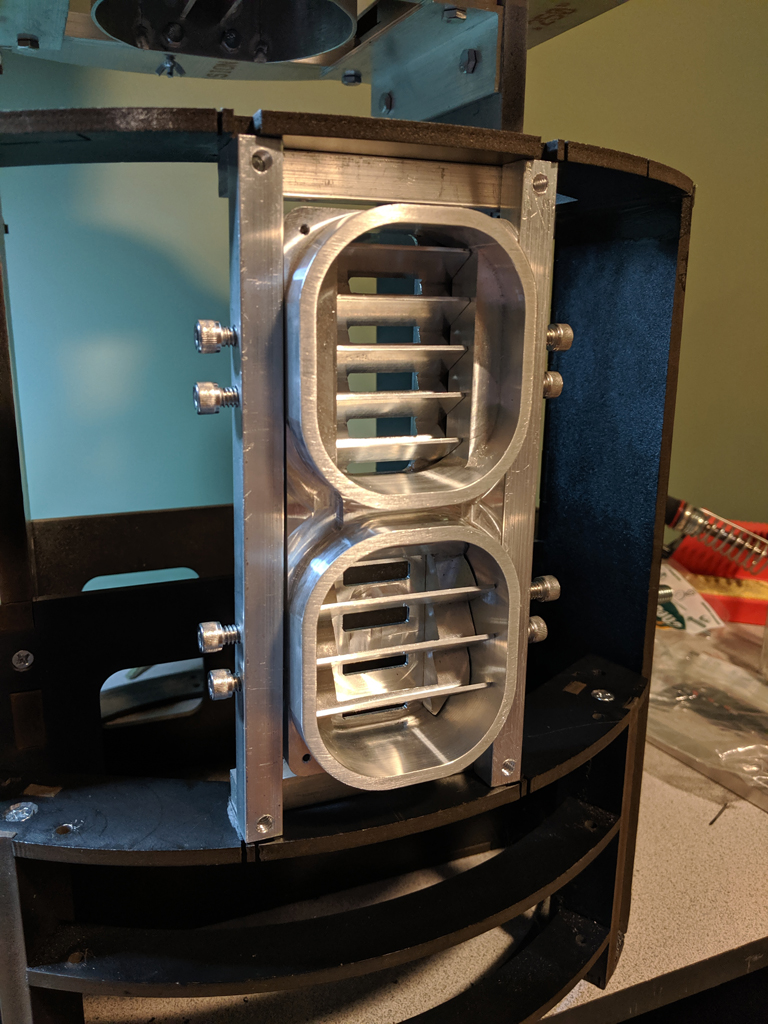
 All in all, this seems pretty sturdy. It should tolerate an aggressive kid just fine. |