|
Shane's R2 Build Log
|
|
|
Shane's R2 Build Log
|
|
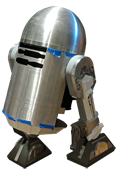
Nothing screams R2-D2 like the dome. It's his essence. His face. It's also one of the most important aspects to get right in a screen-accurate replica build. Put a holo, or worse the radar eye, in the wrong place and most folks will immediately recognize that something is amiss. The dome I selected for my build came from R2Builders member Daren Murrer. It's made of aluminum and is 300mm in height. It's actually two domes in one. The outermost dome is laser cut, with all of the panels and openings for other components ready to be popped out. The inner dome is solid and needed to be cut appropriately. In newer versions of the dome, Daren laser cuts the inner dome too, which makes things so much simpler. He also provides a super nice baseplate for supporting hardware in the newer versions. But, alas, I purchased my dome from him in 2007 before there was such a thing. My dome did however come with a shiny aluminum dome ring, a polyethylene ring for mounting everything to a Rockler bearing, and all the nuts and bolts needed to do so. Finishing the Dome Out of the box, the dome's finish left a lot to be desired. The spin lines were really bad. Some people like that sort of thing, but not me. I wanted a dull smooth shine. And this meant that I had to sand and polish it. Sanding works better if you don't pop the panels out right away or attempt to mount anything to it. Removing the panels immediately would make the outer dome a bit flimsy and harder to work with. Also, the panels need sanding anyway. So why not do it in one go? I picked up an assortment of sandpaper in both paper and sponges. All of the sanding I did was wet. I started in with 220 grit, eventually realizing I needed to dial it down to 120 grit. It then went 120, 220, 400, 600, 800, 1000, 1500, and 2000 grit. Hours was spent on this process - easily over 24 hours. When I finally finished sanding, I broke out a can of Mother's Mag & Aluminum Polish. This is where the magic really happened. 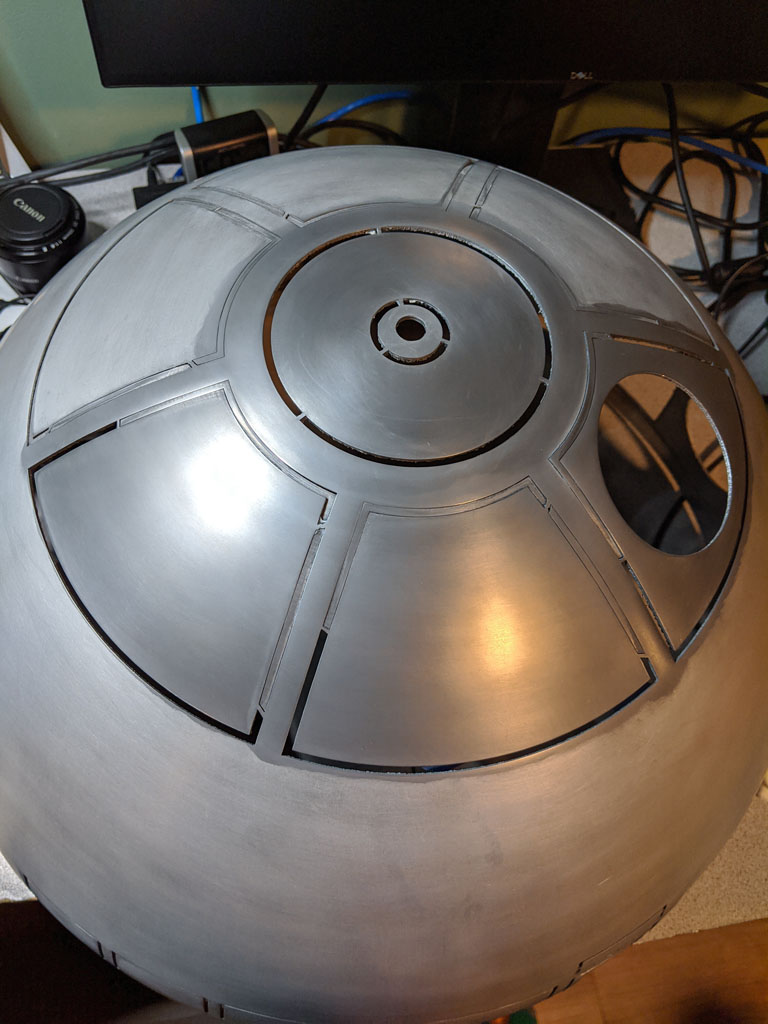 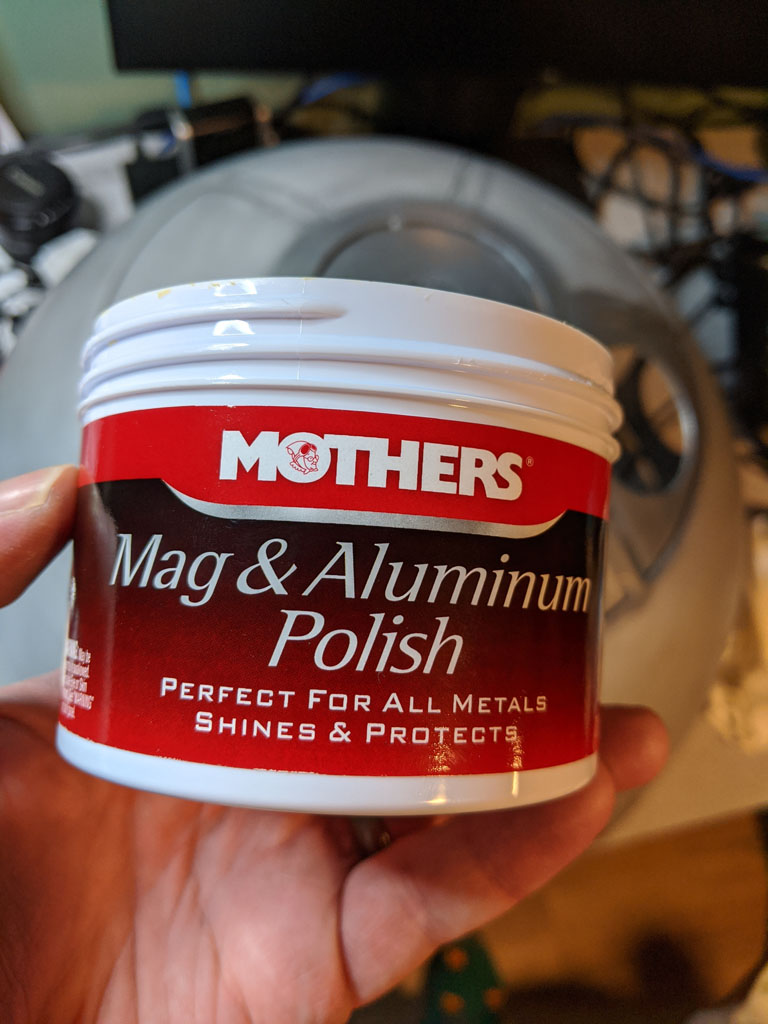
Removing Panels and DeburringOnce I had the finish I wanted, I need to remove all of the panels. The first step here was numbering all of the panels so I could remember what went where. For this, I just took a Sharpie and numbered all of the panels from the inside. Then it was time for cutting. My tools of choice for this was a hacksaw, a file, a deburring tool, pliers, and some 80-grit sandpaper. 
I'd saw a tab off a panel, wiggle it until it popped free, and then file and sand down all of the slag. Wash, rinse, repeat. 
Soon, the underside was nice and smooth. It slid on top of the inner dome without an issue. 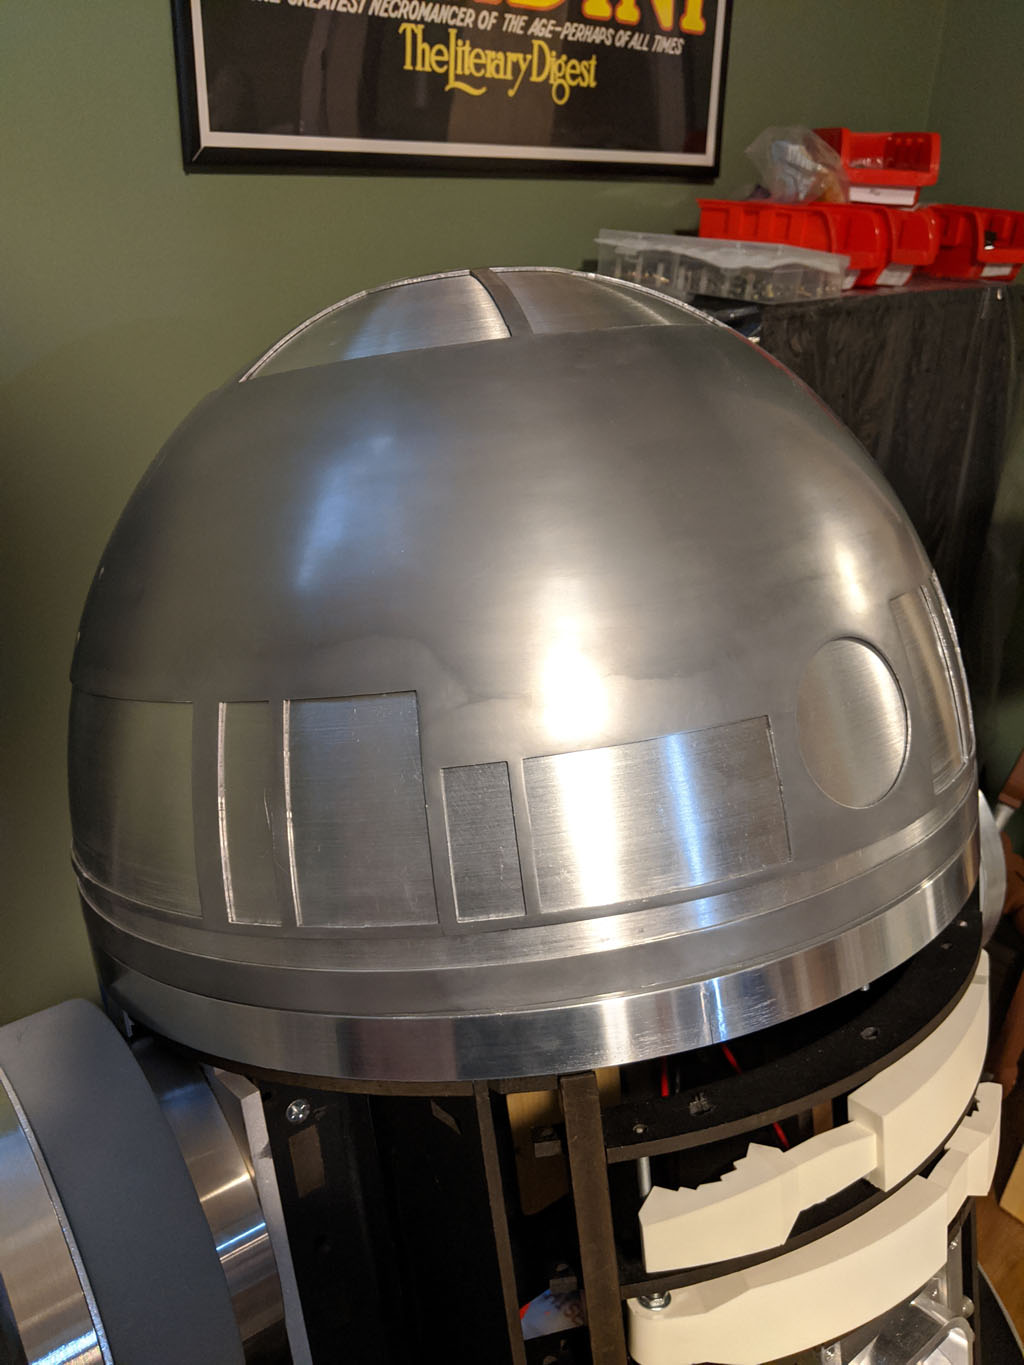
|