
|
Shane's R2 Build Log
|
|
|
Shane's R2 Build Log
|
Middle Ankle Wedges and CylindersMiddle Ankle: WedgesThe middle ankle only has wedges and cylinders. And depending on which reference photo you look at, even the wedges can be considered optional. I did, however, opt for wedges on mine. Most aluminum cylinder/wedge combos are hollowed out, with the wedge screwed straight into the cylinder. Resin parts, however, are pretty solid and there's no good way (apart from gluing) to attach the wedge directly to the cylinder. So I opted for attaching the wedge to the ankle instead. I decided to mount the wedges first and then mount the cylinders relative to those. Using a ruler, I carefully positioned the wedges in the center of the ankle and then traced the edges with a pencil. Then I marked off the center point and drilled a small hole at first (3/32"). I repositioned the wedge and used a thumb tack from inside the ankle to mark off a drill location on the wedge. 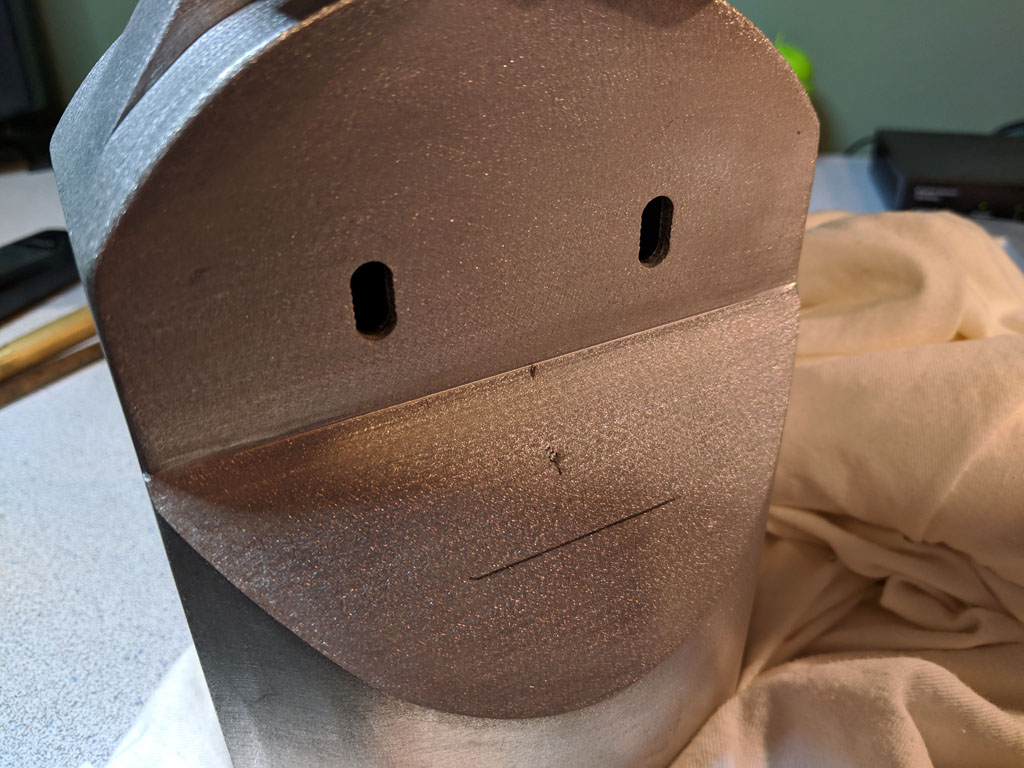 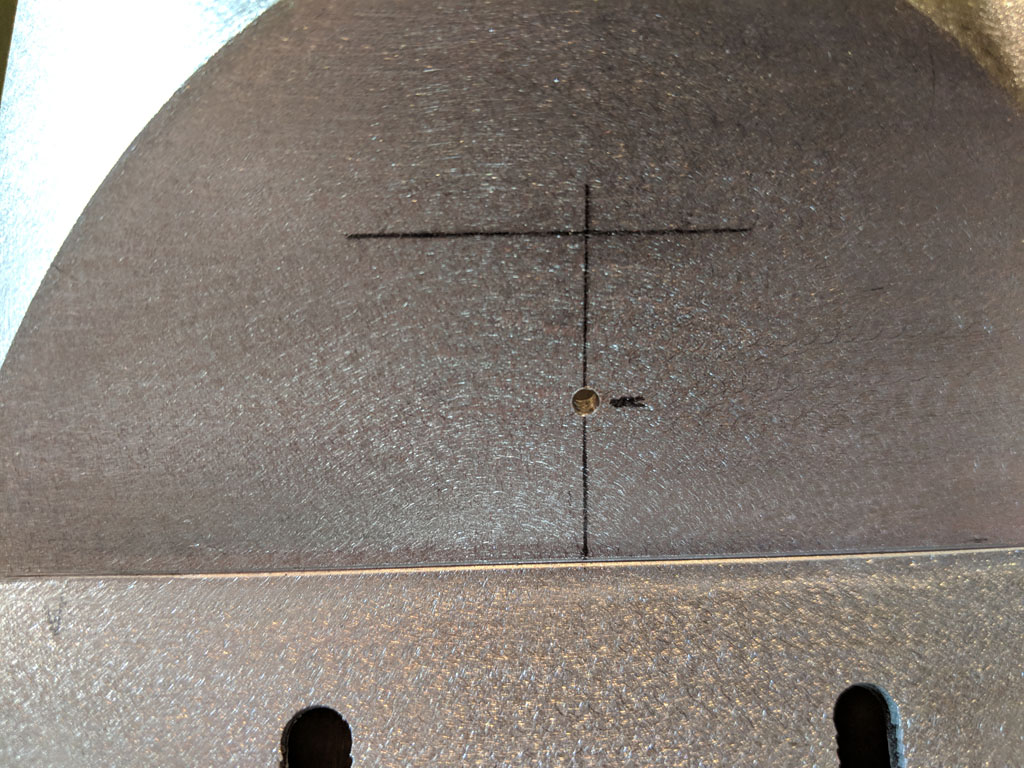 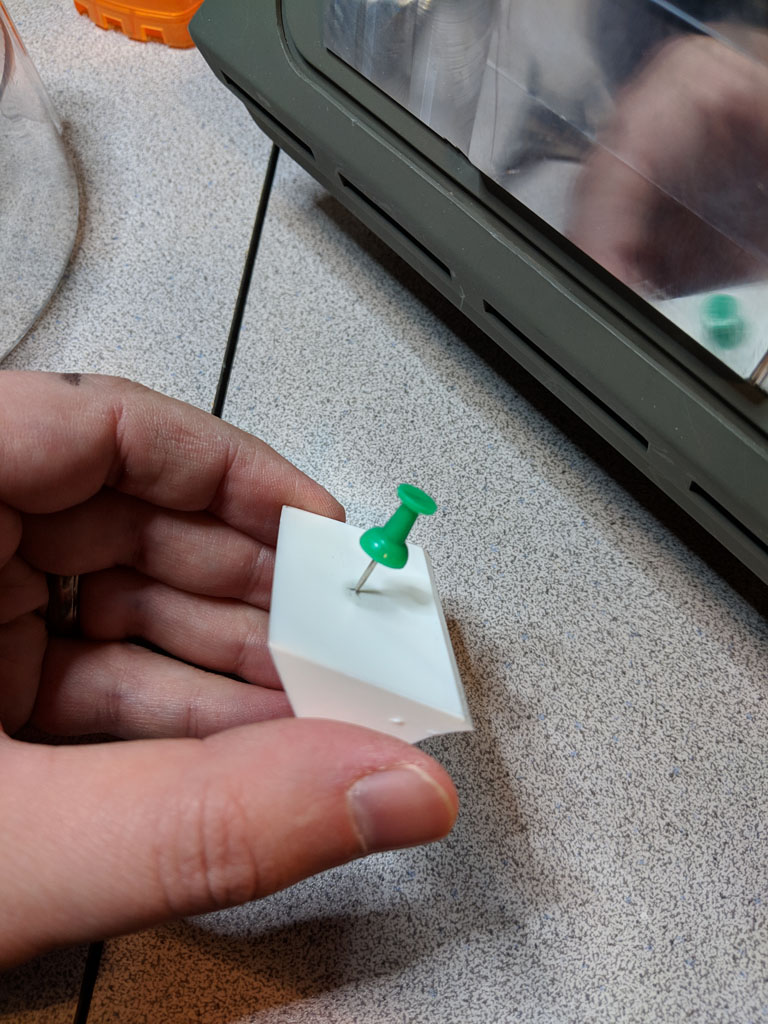
I redrilled out the hole in the ankle using a 3/16" bit. I then measured a drill location on the wedge as a sanity check that my thumb tack location was reasonable. I drilled and tapped the wedge for a 10-24 bolt. The wedges have an awkward shape. So to get a nice level, I actually positioned a pair of them together within my vice (although, I only drilled one at a time). I taped off my drill bit to ensure I didn't drill too far. 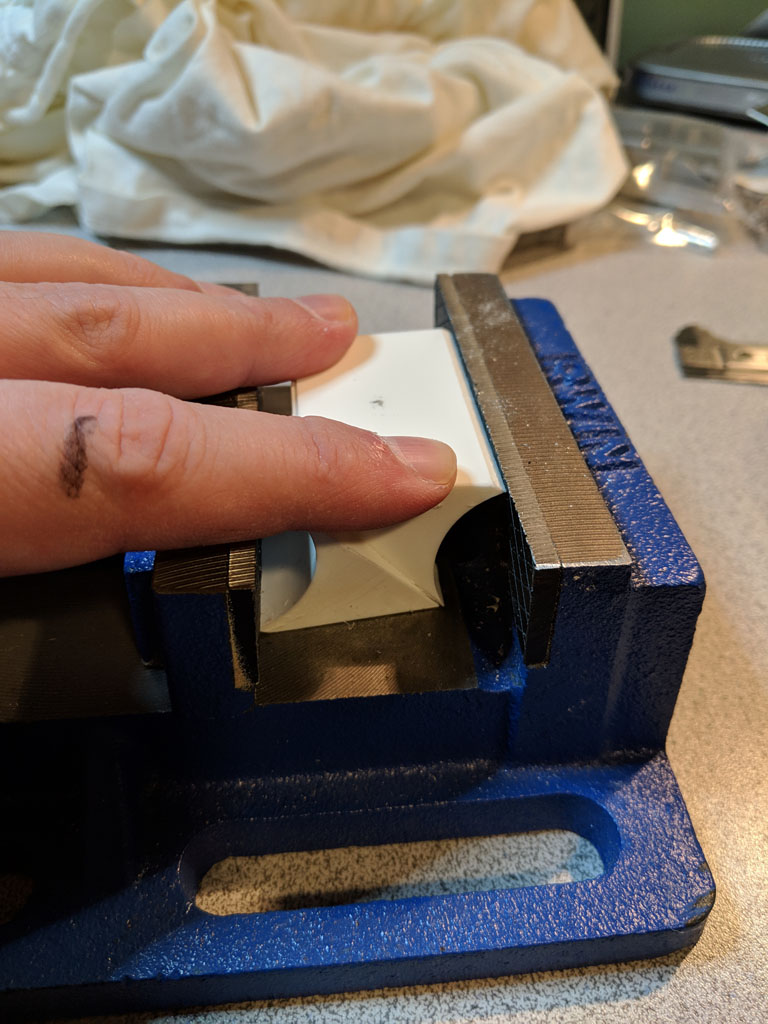  I then attached them to the ankle using a 10-24 1/2" bolt. The bolt was a bit too long, so I used a nut as a spacer. 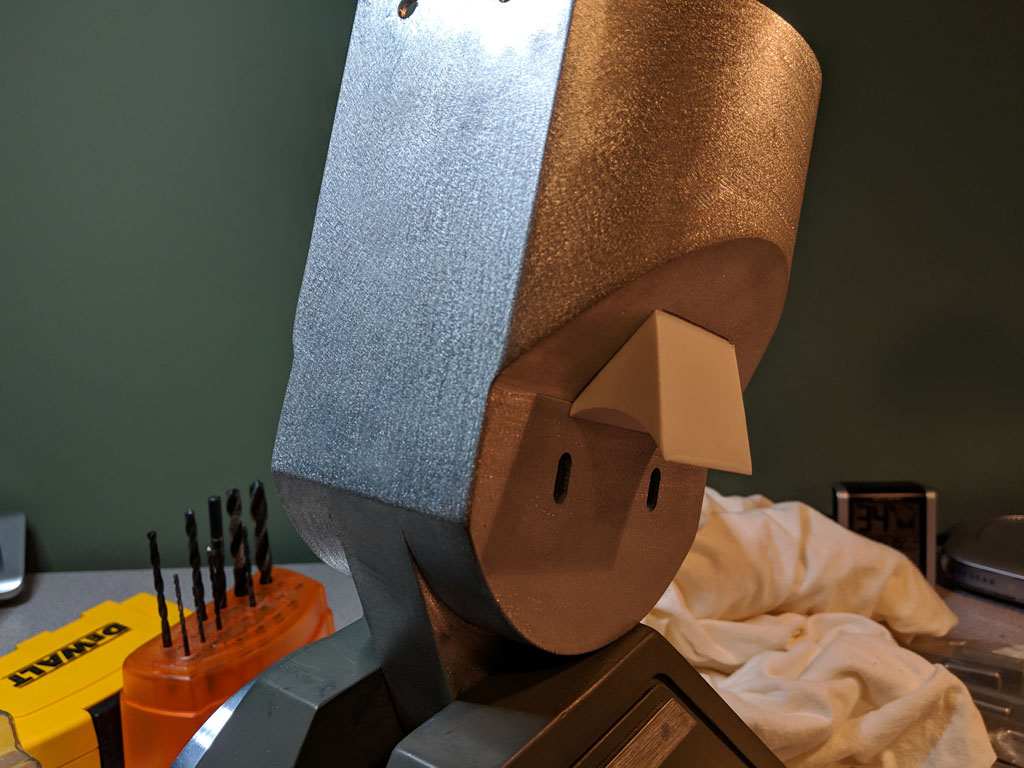
The ankle cylinders required a little bit of prep work. On the back side of each cylinder were two large stumps from where the resin was poured in. 
Per Keith Henry's recommendation, I grabbed a hacksaw blade, wrapped some masking tape around it as a makeshift handle, and then went to town cutting the stumps off as flush as I could. It only took a few minutes. After that, I used some 100 grit sandpaper to remove whatever trace of the stumps were left.  
To determine the drill locations on the ankle cylinder, I used the straight edge of a piece of paper to mark out where the holes are on the ankles relative to the wedge. The cylinder holes in the ankles are pre-drilled 2" apart horizontally. But there's some flexibility in the vertical axis. I measured and used a drill punch to mark the drill locations on the ankle cylinder. 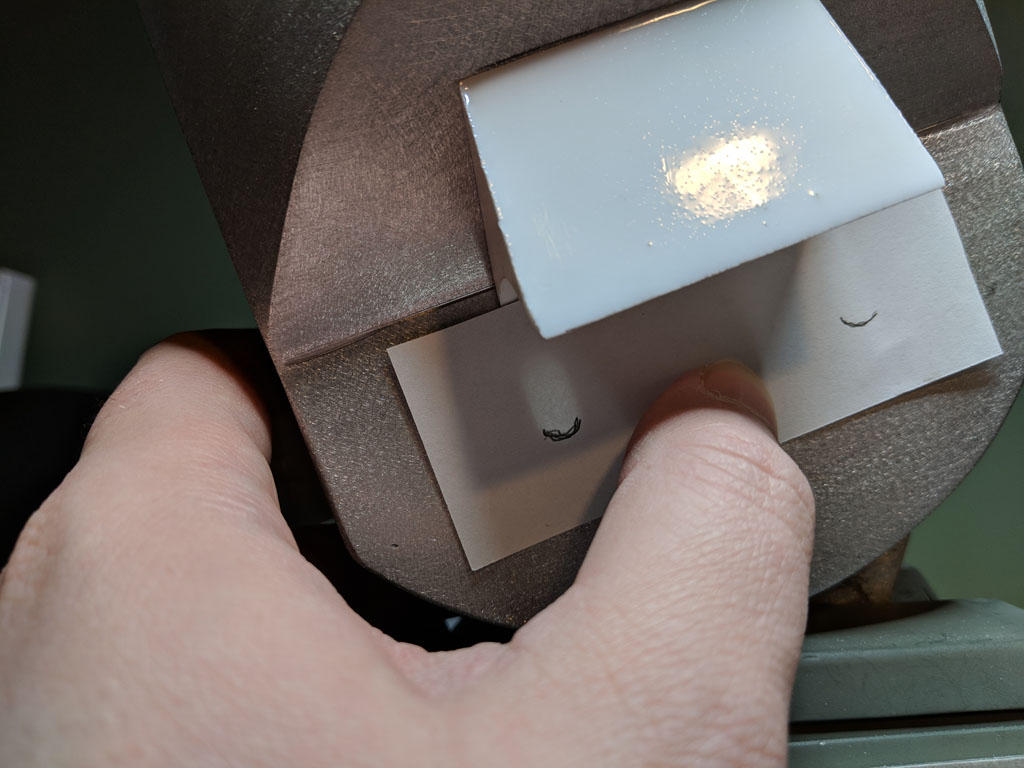 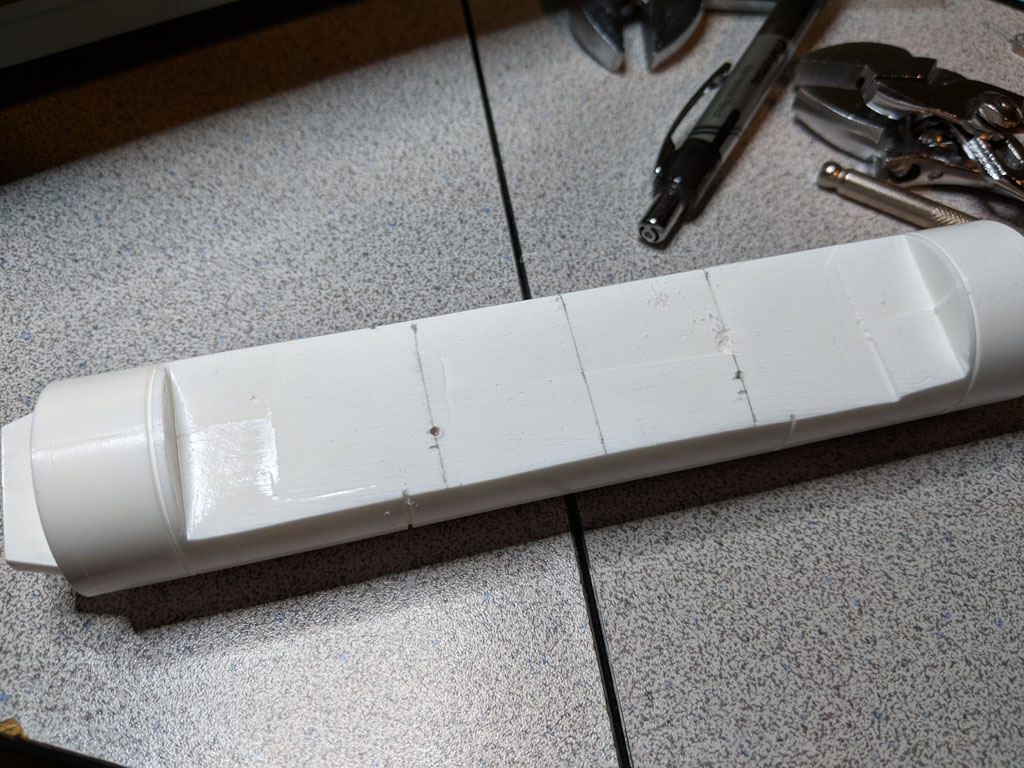
I then placed the cylinder in a vice. I made sure everything was level and then drilled out holes using a 9/64" drill bit. These were then tapped for 10-24 bolts. 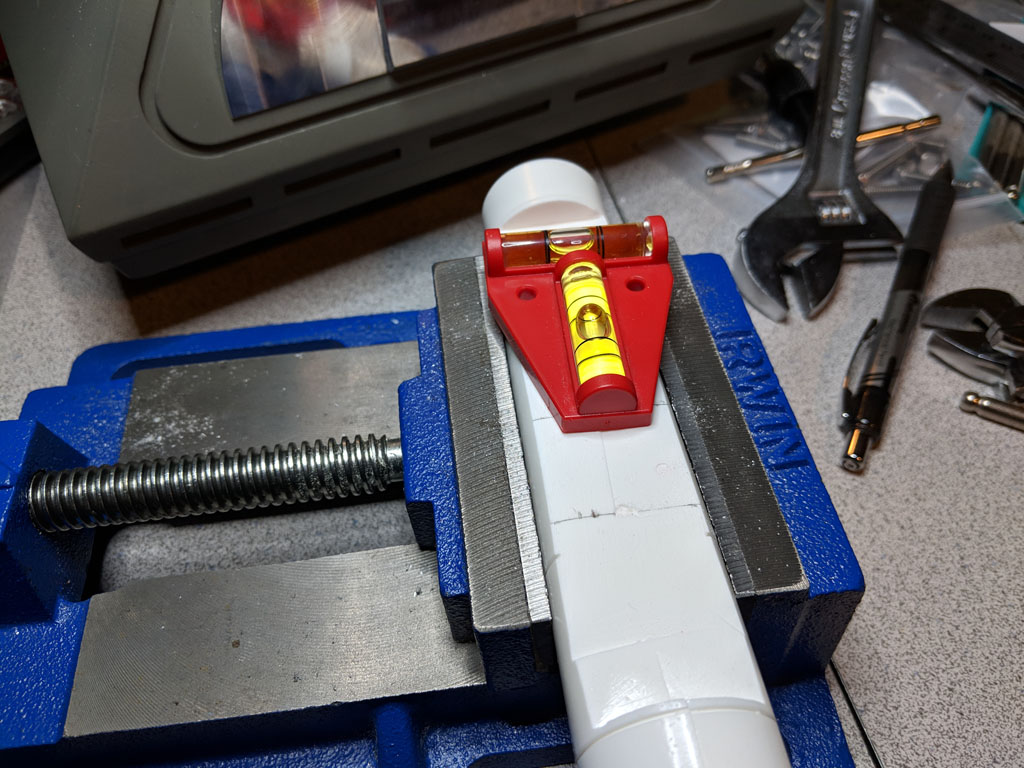 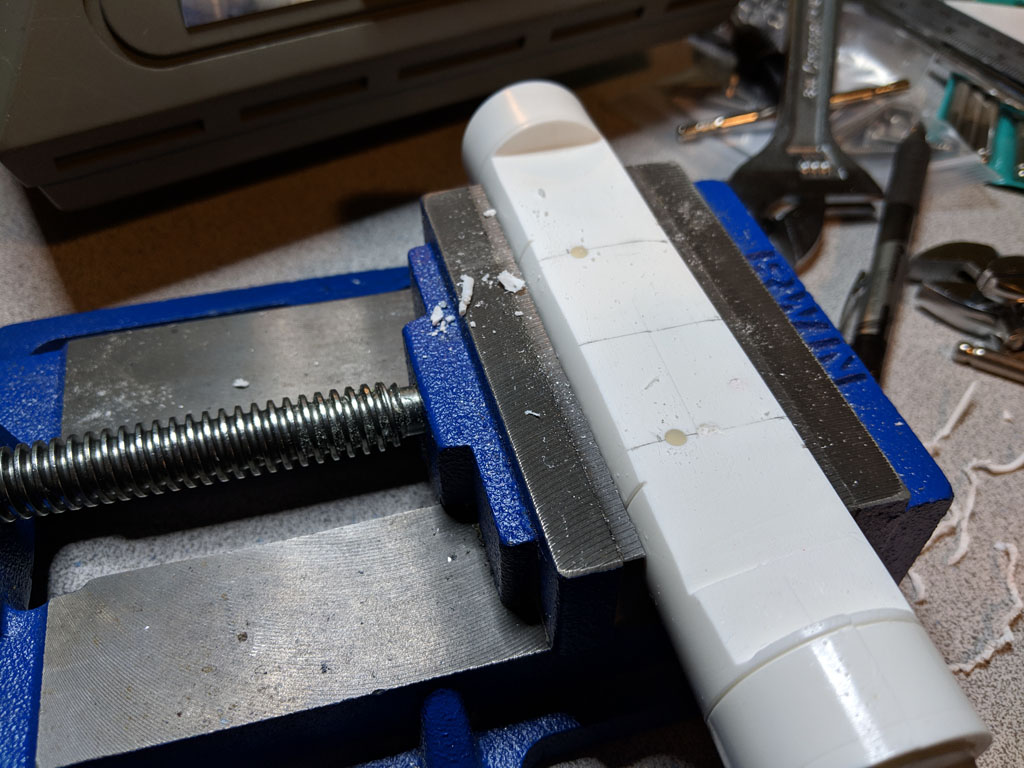 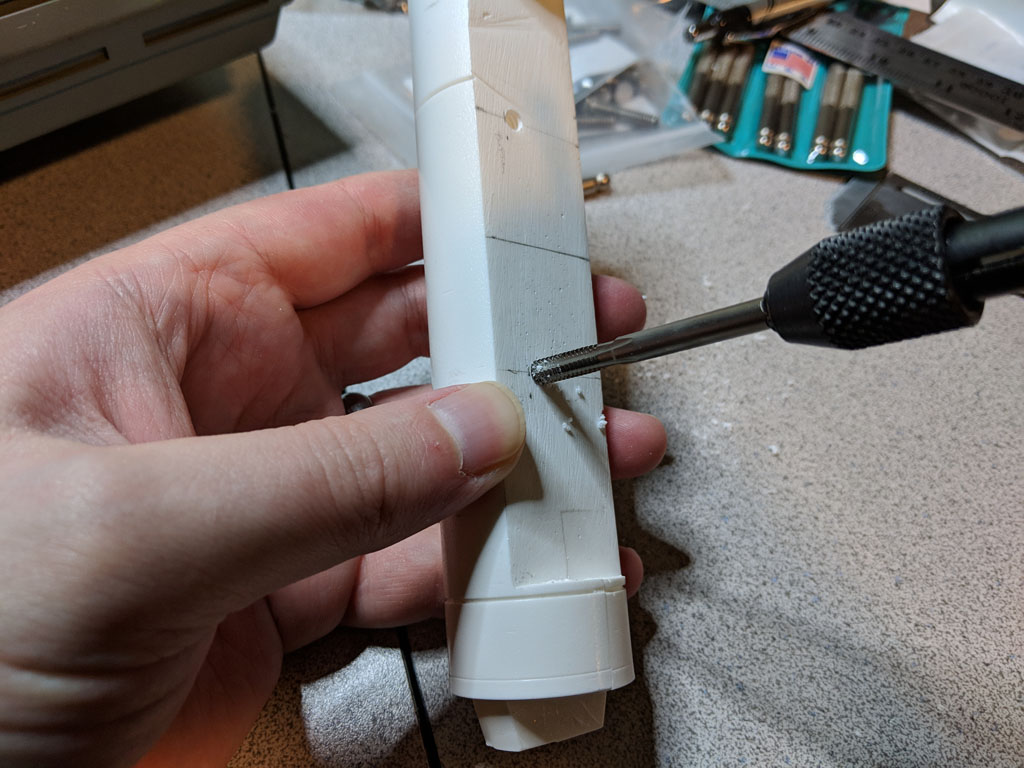
I removed the wedge to install the cylinder because, well, it's easier that way. Installing the cylinders on the Worr middle ankle is a challenge because there's no finger room. I used some 10-24 hex bolts for this because there's no way to get a Phillips, flathead, or Allen wrench (even the stubbys) down in there. The two tools I used to attach the bolts were a 5/16" ratcheting wrench from Husky (bought at Lowe's) and a tiny 5/16" open end wrench from Moody. Both exercised my patience. But they got the job done. 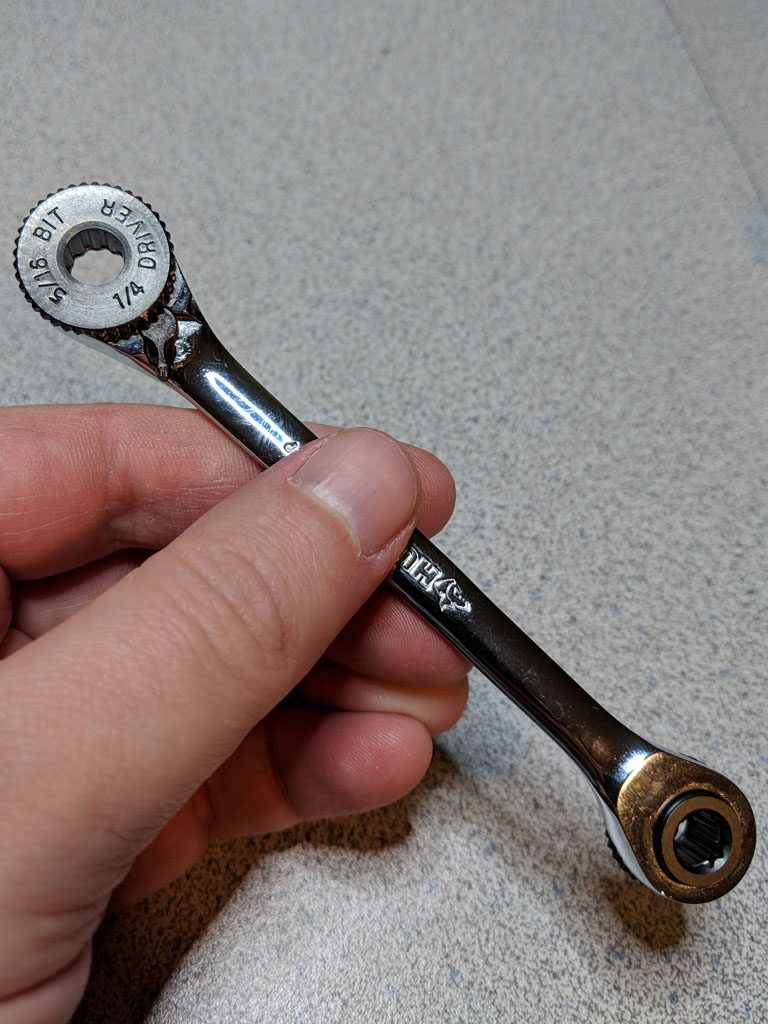 
Once the cylinders were installed, I reinstalled the wedges. 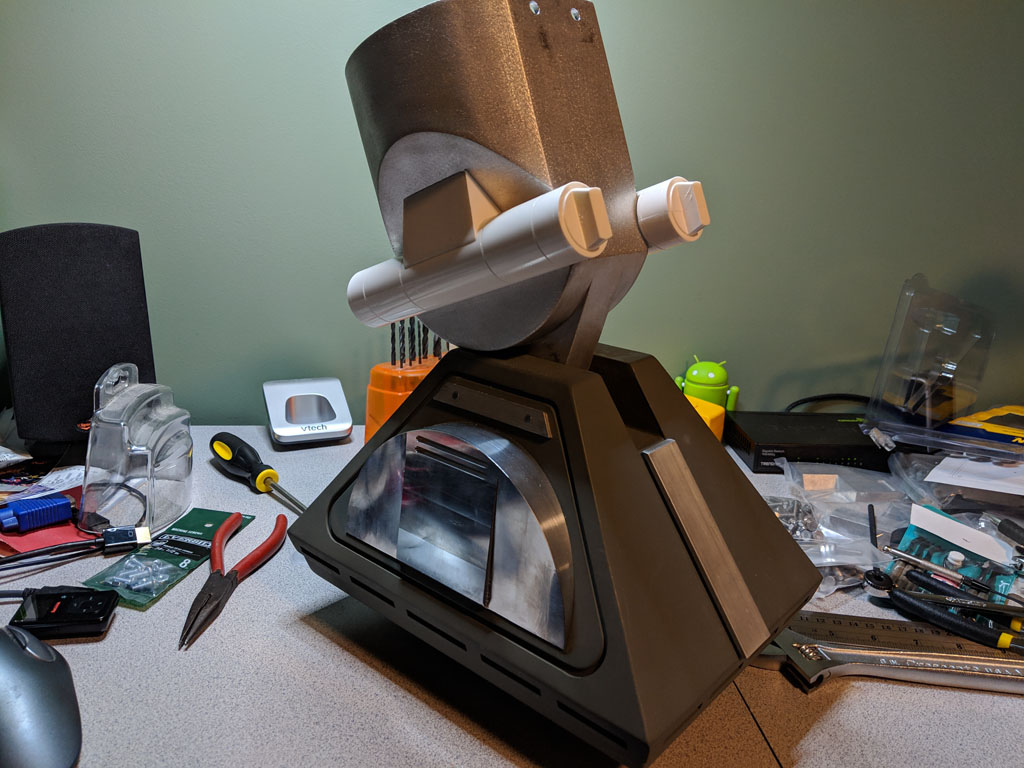
|