
In my last post, I described my motivation for building a home brewed NAS. I talked about why I opted against some of the more commercial alternatives. And I briefly mentioned a few of the perks of having a FreeNAS solution for your home or office.
In part two, I’d like to discuss my hardware choices and touch on some of the things that might influence your own FreeNAS project.
The Case
The case was the very first place I started on this project. It might seem like an unexciting beginning. But the choice of case has the potential to widen or limit the selection of hardware available to you when building your machine.
For my server, I wanted something small, something almost toaster-sized. The server would be living in my office, a room severely constrained in terms of space. So I needed something that I’d be able to tuck out of the way. And I also wanted something with room for at least two hard drives that I’d use in a RAID configuration.
Below is a picture of the case I settled on. It’s the PC-Q11B from Lian Li. It’s a Mini-ITX tower with room for a motherboard, power supply, two hard drives, and little else. It’s bigger than my toaster, but not by much. It’s sleek and everything about it is cleverly designed.
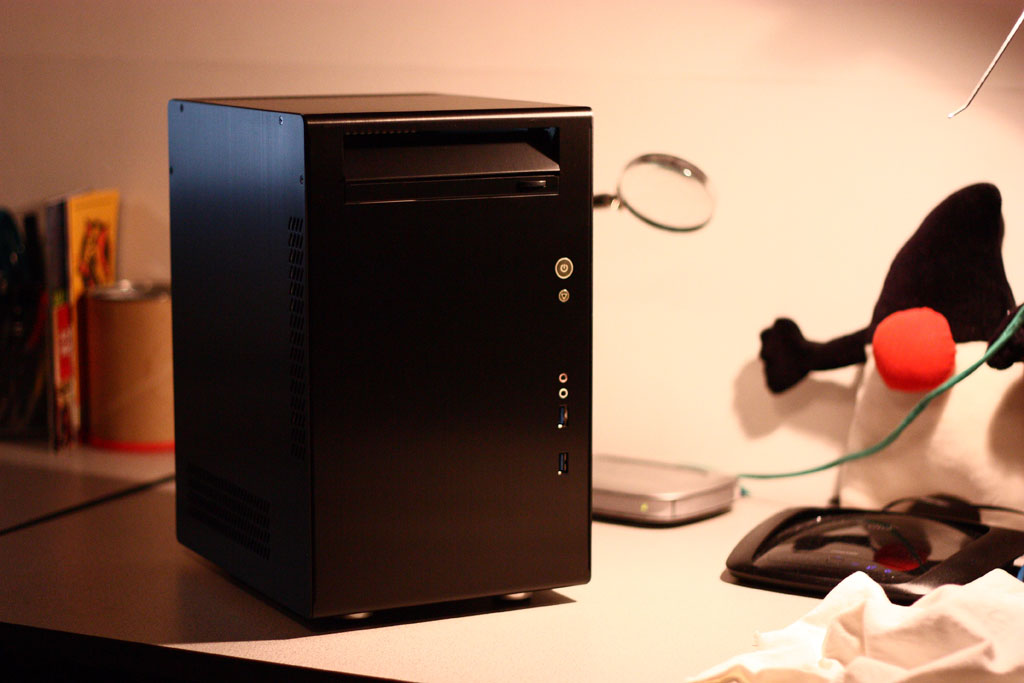
It’s worth noting that if you decide to purchase this case, it accepts a full ATX style power supply and not a Mini-ITX style.
The Motherboard and CPU
Next on my shopping list was the motherboard and CPU. This was a little tricky. Picking components for a Windows PC is easy since every PC hardware manufacturer has Windows drivers. But FreeNAS is a FreeBSD based OS. So it requires a little bit of homework to find a motherboard/CPU combo that’s fully supported by FreeBSD.
The two things I was most nervous about was the USB and network interface support. I had planned on running FreeBSD from USB stick (more on this in part 3). And, of course, if the network interface built into the motherboard wasn’t supported, the server would be of no use. So I spent a couple of days scouring the various forums, mailing list archives, and hardware compatibility lists.
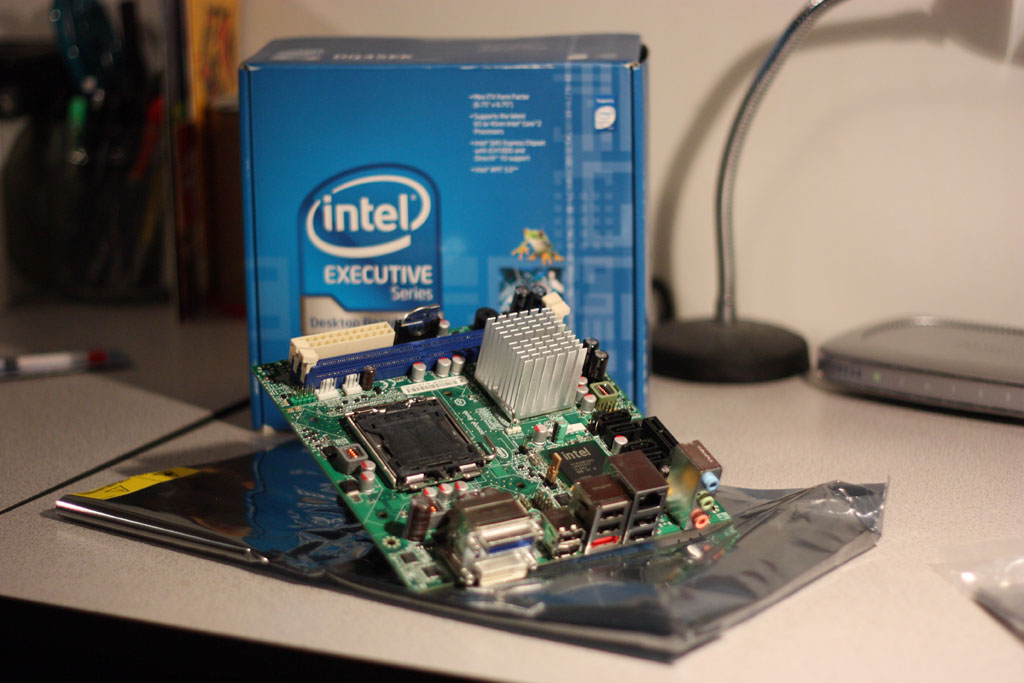
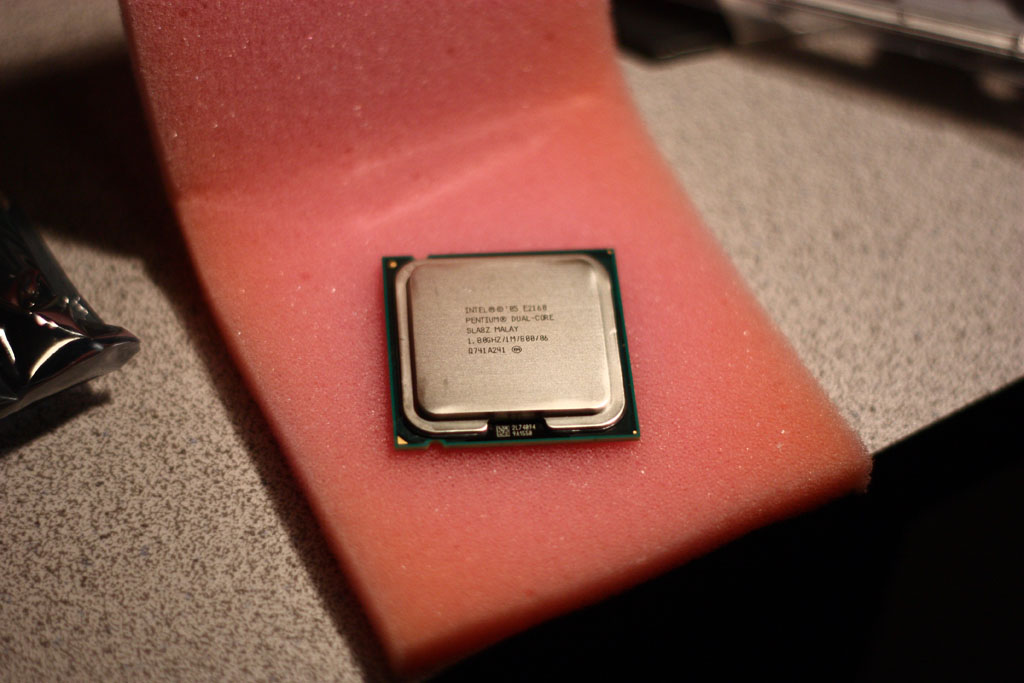
In the end, I purchased a BOXDQ45EK LGA 775 motherboard from Intel along with a Pentium E2160 processor. And to be perfectly honest, this purchase was a shot in the dark. I didn’t really know if what I was getting would work well at all. But with Intel components, I figured the odds were in my favor. And as it turns out, they work pretty well.
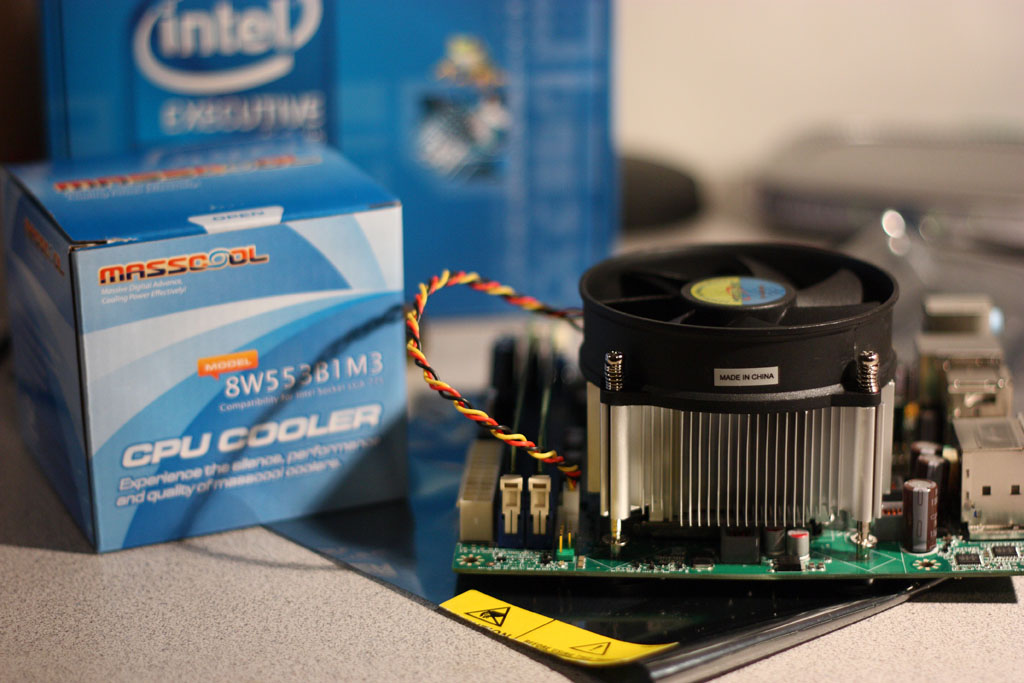
In addition to the processer and motherboard, I picked up a Fanner-420 heatsink/fan made by MassCool.
Memory
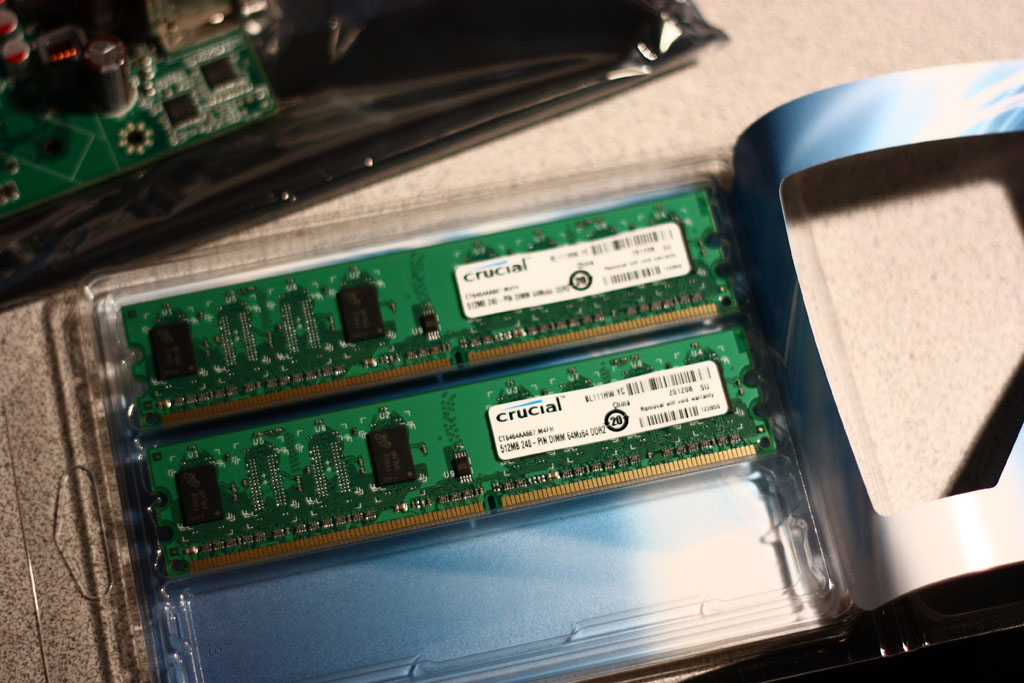
FreeNAS doesn’t need a lot of memory. You could get by easily with 512MB of RAM. But RAM is dirt cheap. So I purchased 1GB of Crucial sticks.
Power Supply
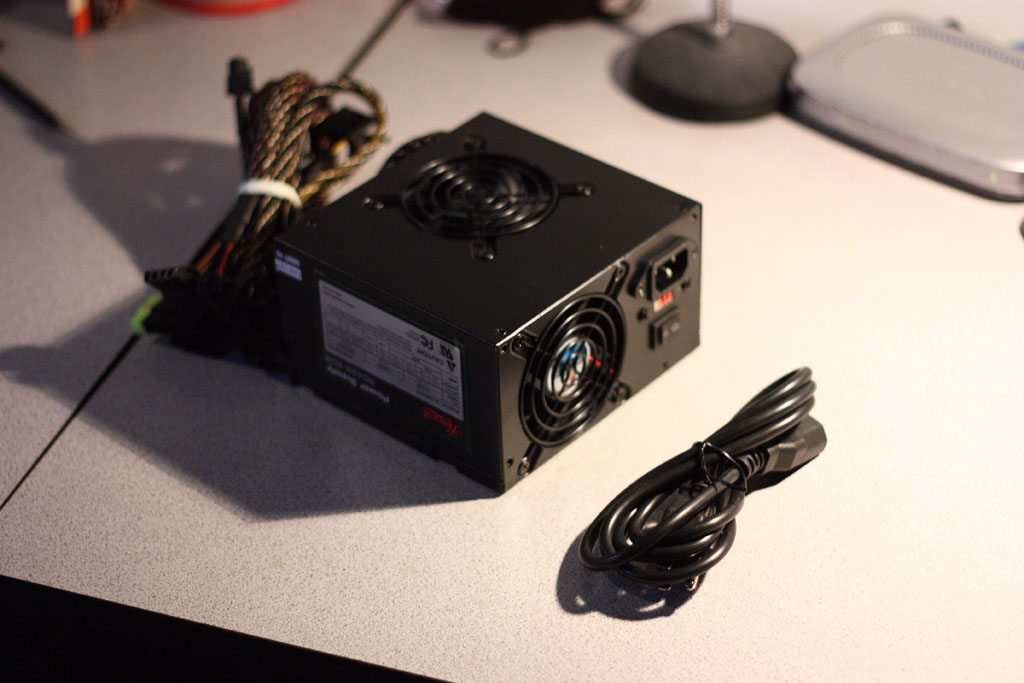
I goofed on the power supply. Both the case and the motherboard I wanted to use were Mini-ITX. So I naturally reasoned that I needed a Mini-ITX power supply. I initially bought a 220W Mini-ITX power supply from FSP Group. It was only after I began assembling everything that I realized I had made a mistake. The Lian Li case doesn’t support Mini-ITX form factor power supplies, only ATX.
The FSP got shipped back to NewEgg and I picked up a 400W Rosewill RD400-2-DB instead.
Hard Drives
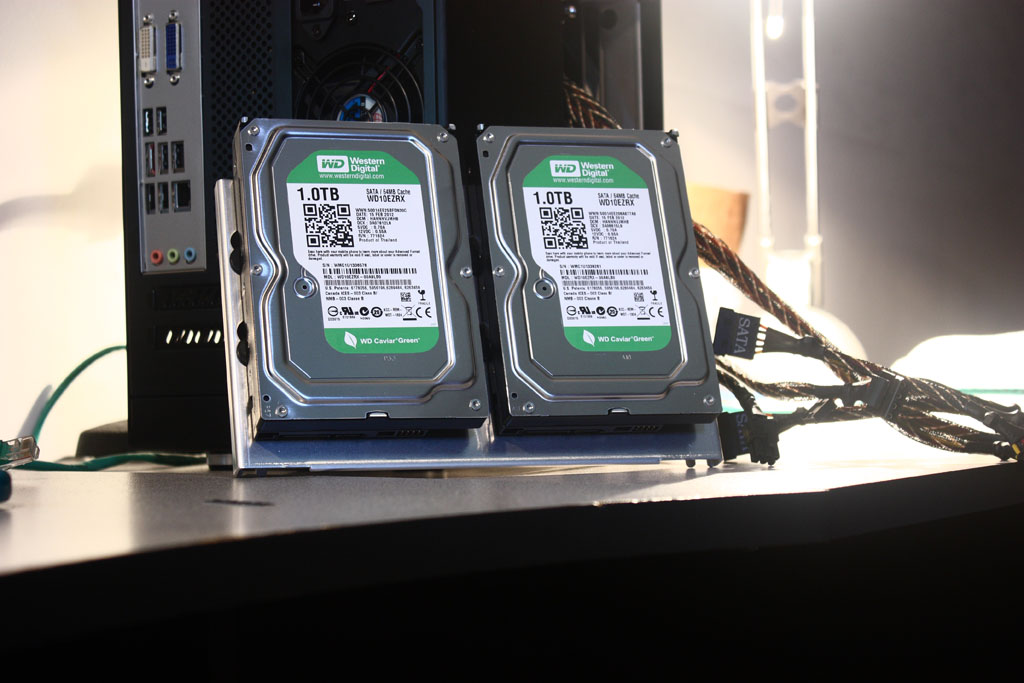
The primary goal of this project was to provide a centralized location for shared media like photos, home video, etc., as well as to provide a location where the other machines could stash backups. Based on our history, I estimated that we’d probably use less than 1 TB of storage over the next few years. So I opted for Western Digital’s Caviar Green WD10EZRX 1TB drives. I purchased two of them that I would end up using in a simple RAID configuration. WD’s Green drives aren’t going to win any races. But they’re low power. And for a device that’s always on but barely used, powers savings is important.
Extras
While it’s not directly part of the server, I should mention I also picked up a CyberPower CP1000AVRLCD UPS. We live in an area with frequent power outages and brownouts. It’s important that the server is protected and that it’s able to shut itself down cleanly when a power outage occurs. As it happens, FreeNAS has built in support for UPS devices. It’s a great feature that I’ll have more to say about in part 3.
Total Cost
The total cost for all of the hardware was as follows:
| Case | $99.99 |
| Motherboard | $54.99 |
| CPU | $33.99 |
| Heatsink | $11.99 |
| Memory | $23.99 |
| Hard Drives | $191.98 |
| Power Supply | $34.99 |
| Thermal Grease | $4.49 |
| 4 GB USB Stick (for OS) | $4.99 |
| UPS | $122.99 |
| Grand Total | $584.39 |
All in all, it wasn’t that expensive. A comparable off-the-shelf solution would have cost me a bit more.
Conclusion
We’ve been running this little server for almost 2 months now. And I’ve been very happy with the hardware. I suspect there’s a bit more tweaking I can do to bring down the power consumption. But all in all, this device performs well and does what it was meant to do.
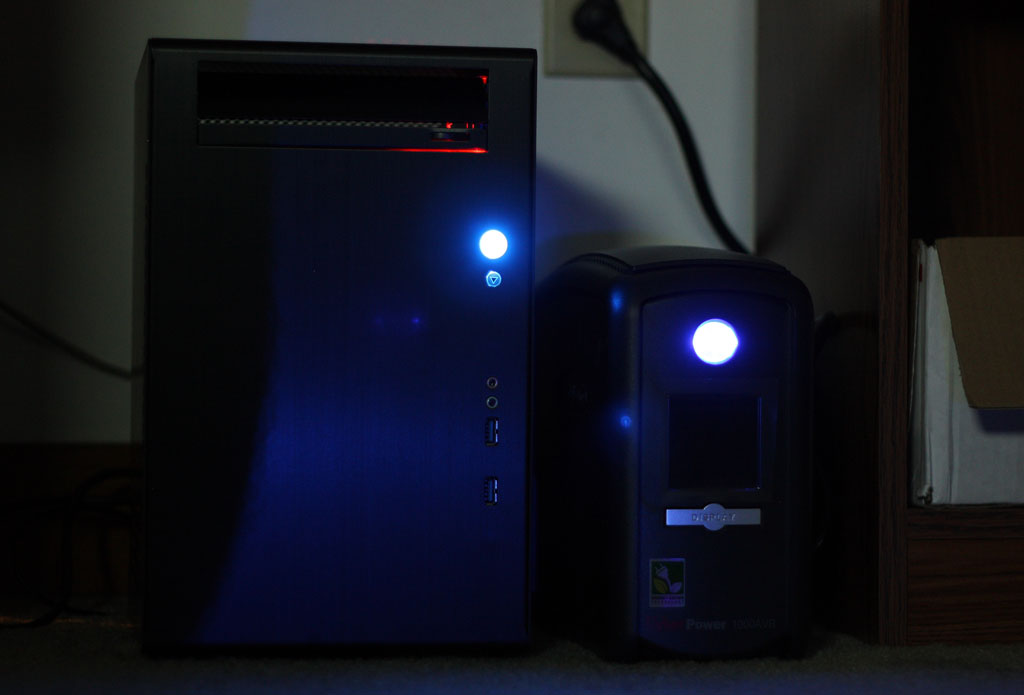
I should mention one thing that I find to be a minor annoyance. Both the server case and the UPS have ridiculously bright blue LED lit power buttons, which you can see below. These devices sit next to each other behind my office door. At night, the whole room casts a blue glow that can be detected in many parts of the house. If you decide to use either of these components, you’ll probably want to keep them out of rooms that need to be dark (e.g., bedrooms, rooms used for watching movies, etc.). Otherwise, your eyes will feel like they’re trying to crawl out of your skull.
In part three…Installing the Software.