
 Because most of my work is done in my basement, I’ve struggled quite a bit finding an adequate light source. Hands-on, detailed work, like electronics or painting, has always been an awkard exercise. I’ve tried simple desk lamps, the adjustable arm types, and even head lamps on occasion. Nothing seemed to work well for me.
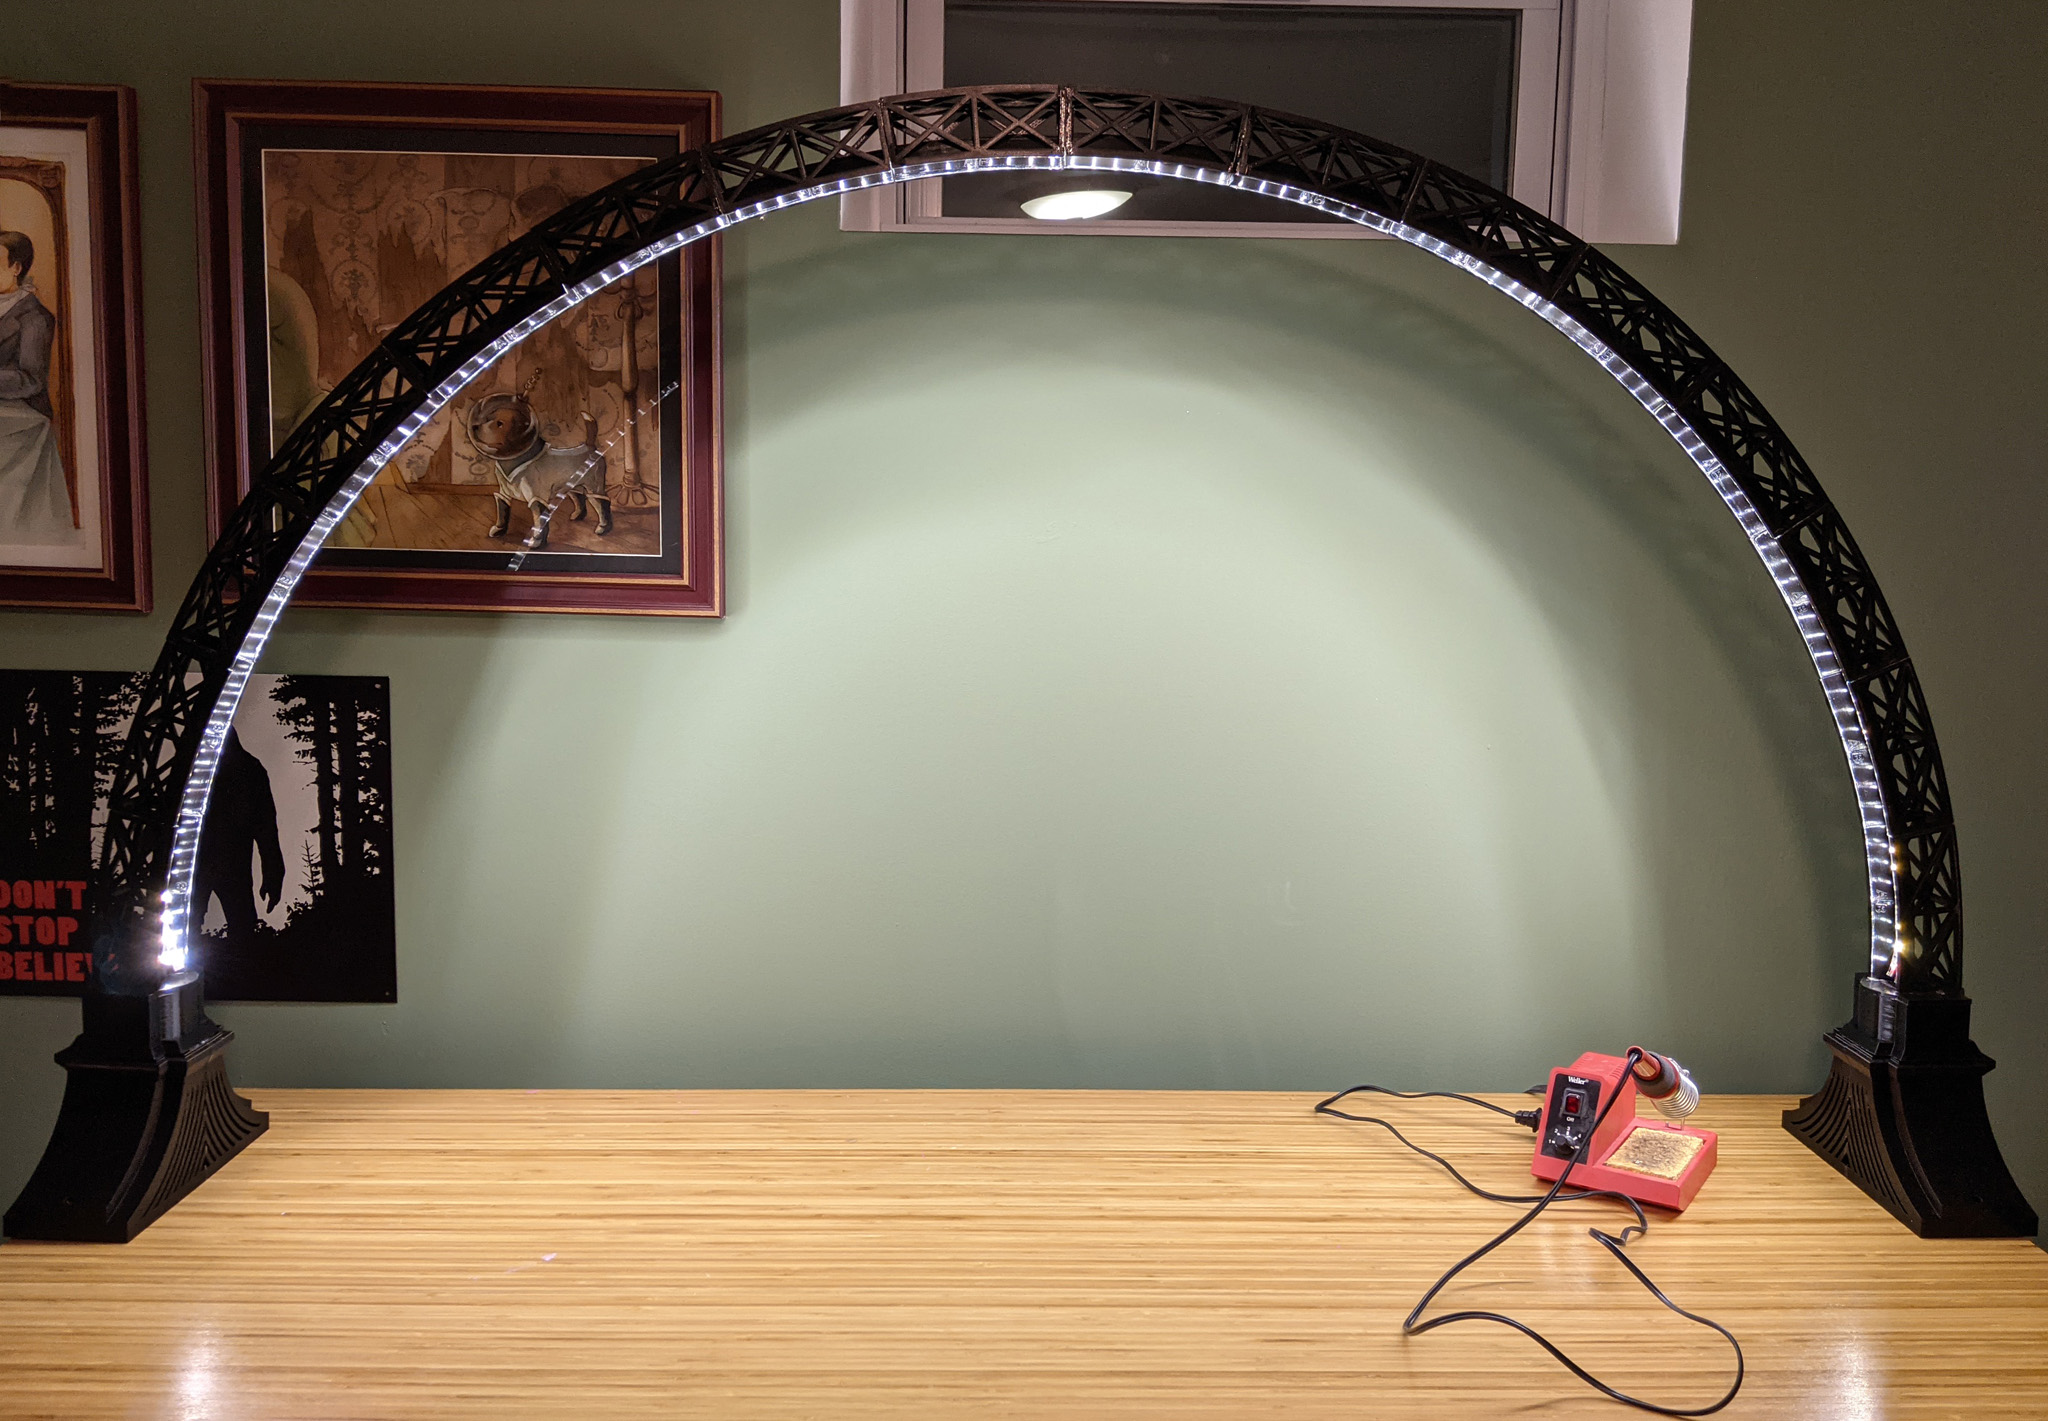
Recently, however, this all changed. I came across a project on Thingiverse from a fellow named Janis Jakatis. He designed an interesting 3D printable lamp that essentially creates a 180 degree arch of LEDs that hovers over your entire workspace. I thought it was a fascinating idea and one worth trying to build.
There are three primary components involved in this build. The 3D printed bases pieces which sit on either side of your desk, the 3D printed pieces that snap together to form the arch, and the LED strips themselves.
The Arch
Janis includes two versions of the arch pieces in the project’s file set – a single piece that you can print out in one go, or a flat pack that you have to assemble after printing. The single piece will be stronger. But it also requires a LOT more filament to print to accommodate supports. So I opted to print the flat pack version.
It took some effort to figure out exactly how the individual arch pieces were meant to go together. Janis includes an assembly jig that you can use to help with this. In the end, I printed out parts for 16 separate arch pieces and then did an assembly line of sorts glueing things together with 2-part epoxy and sanding down the ends of pieces that weren’t perfectly flush.

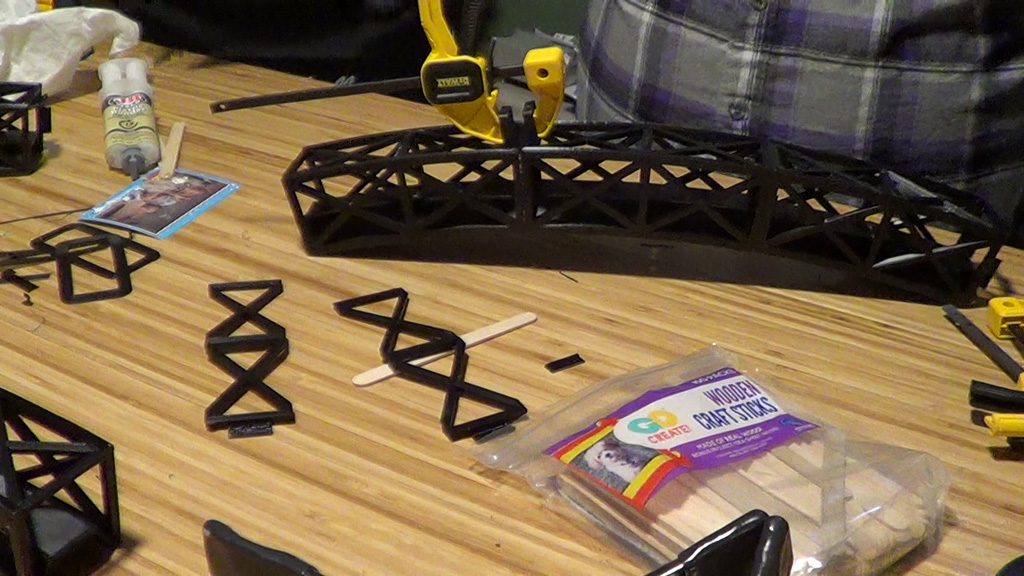
The arch pieces are designed to snap together, but I have to confess that that didn’t work so well for me. When attempting this, some tabs completely broke off. And even those that snapped into place weren’t perfect. I can perhaps blame my Ender 3 and my print settings on much of that. So lots of 2-part epoxy was used and clamps to make sure the arch pieces were positioned correctly while the glue set.
The Base
The base has three pieces – the base proper, a middle piece that you use to customize the orientation, and a flat piece that attaches to the arch. I simply glued all of these pieces together using 2-part epoxy.
The LEDS
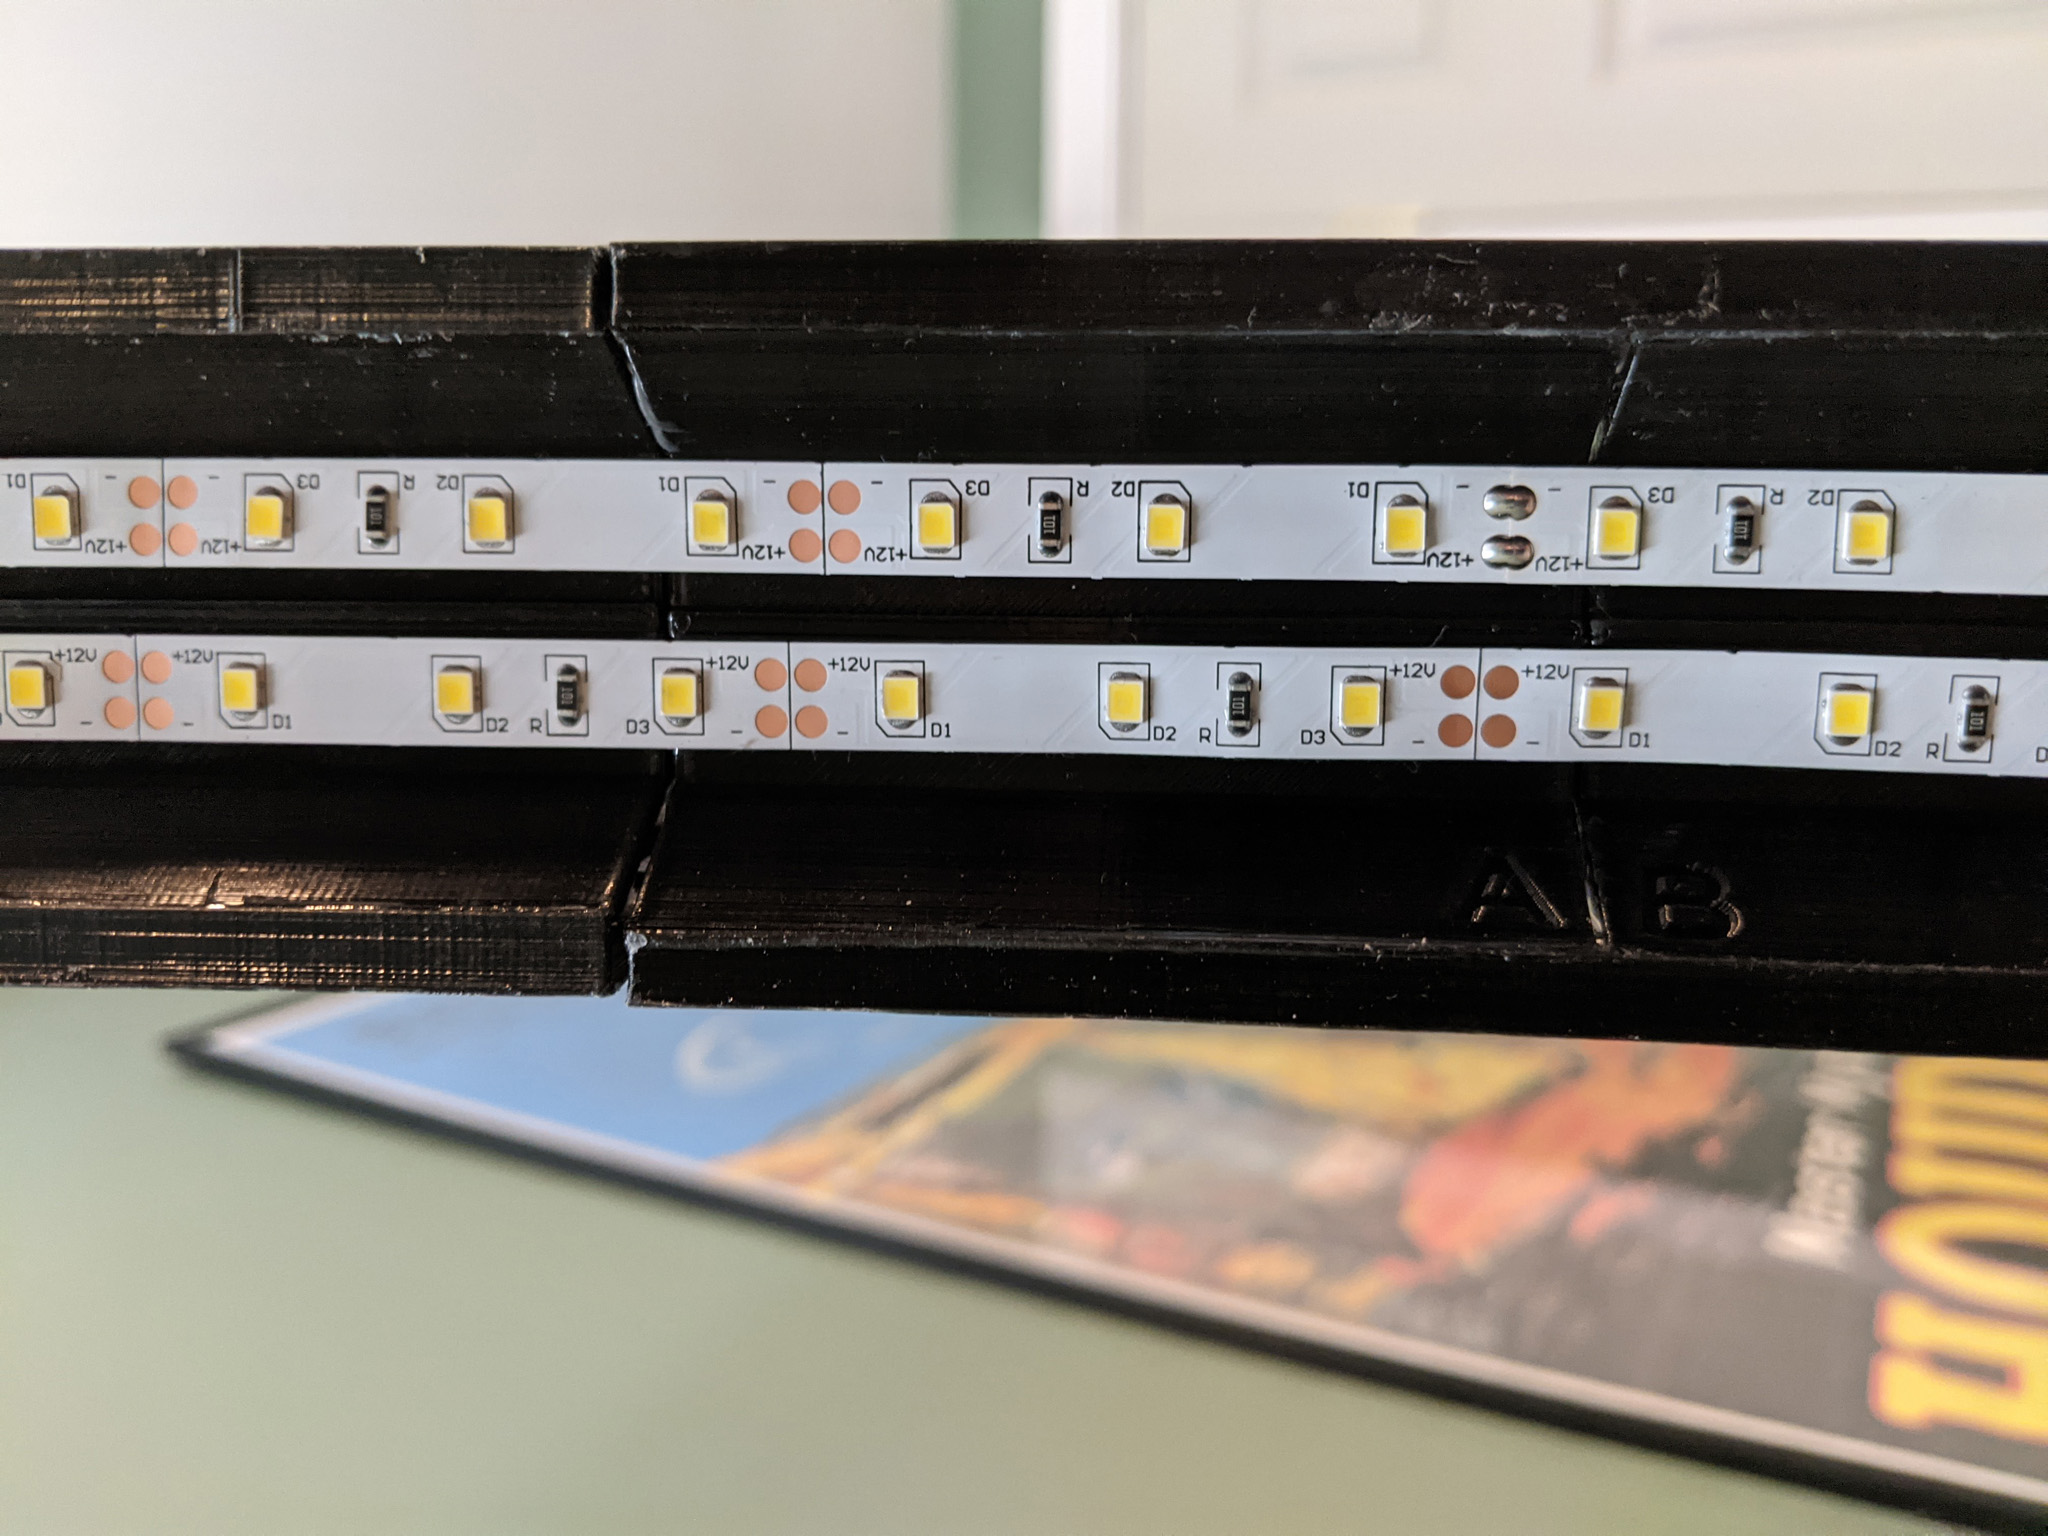
The LED strips are the most important component of this build. I wanted something that would be plenty bright and that wouldn’t get very hot. I am sticking them to PLA, after all. 2835s seemed like a good choice as they balance brightness and heat much better than some of the other options. I bought a 16 ft. long strip of natural white (4000K) 2835 SMD LEDs with power supply off of Ebay for around $14.
I cut the LED strip into two 8 ft. lengths and ran the strips parallel to each other along the underside of the arch. Like most LED strips you buy, mine already had an adhesive backing. Of course, LED strip adhesive is reknowned for being garbage. I knew this already. But I was impatient and the 3M label on the back made me a little over-confident. (AGAIN! I’ve been bitten by this in some of my drone projects. Learn from my mistakes. Don’t trust the sticky backing, regardless of what brand name is stamped onto it!) Because of this, I’ll spend the next few months with the minor annoyance of fixing random areas where the strips pull away.
(Update 2022-05-12: The adhesive on the back of the LED strips officially failed me. But I found a solution – VHB tape! This stuff is strong. A month later, the LED strips are still holding on strong.)
I should mention that Janis actually has another flavor of the arch pieces that incorporates a slot for you to insert the LED strips into and it works as a diffuser. It also requires you to print using a translucent material and 100% infill to avoid infill patterns. I didn’t go this route because I wanted maximum brightness.
With the LEDs attached, I soldered some bridge connections to reconnect the two strips together. I then plugged in the wall-wart and I was done!

Conclusion
I love this lamp. Seriously. I mean, I’m still fixing places where the LED strips occasionally pull away. I still don’t have a proper switch connected to it. And I still need to print some desk clamps that Janis included in the project files to keep the thing from the sliding around when you bump it. But I’ve already used this lamp on a few projects and it’s perfect. No more shadows. No more of my big head blocking the lamp. And it also works quite well for lighting faces for video. So there’s that.
If you need a great desk lamp and have a 3D printer (or a friend with one), give this project a shot. You won’t be disappointed.
Thingiverse Link: https://www.thingiverse.com/thing:1703104