
In part two of this series, we discussed hardware options for the Raspberry Pi. By now you should have a pretty good idea of what needs to be bought and what can be scavenged for your Raspbmc project. This is the part in the series where the rubber meets the road. I’m going to talk about where to get Raspbmc, how to install it, and what to do after it’s up and running. By the end of this article, you’ll be able to enjoy your media collection on your new Raspbmc device. So let’s get started.
First Steps
An SD card serves as primary storage for the Raspberry Pi. It’s where we place the operating system. And it often, but not always, serves as general purpose storage. Our first task is to get Raspbmc installed on an SD card.
Raspbmc can be downloaded for free from raspbmc.com. Click on the “Download” button at the top of the Raspbmc site. This link will take you to the download page. Here you’ll find a few options.
Simple UI Installer – This is the easiest way to take your first steps with Raspbmc. The UI installer is a small tool for initializing the SD card. It deposits a few files on it for bootstrapping the Raspbmc download and install process, which actually happens on the Pi. It’s available for Windows, OSX, and Linux and it’s extremely painless. If you think you might ever want to reclaim the SD card for another use, this tool also provides a nice “Restore device for formatting” option that puts the card back into a formattable state.
Network Image – This is a minimal disk image that’s not unlike the image used by the Simple UI Installer described above. It’s a barebones OS configured to download and install the rest of Raspbmc at first boot. Use this if you’re on an OS not supported by the UI installer. You will, however, need a disk imaging tool to write the image to an SD card.
Standalone Image – This should be used if your Raspberry Pi is Internet-challenged. It’s the full blown Raspbmc image and doesn’t require any network access for the install process. To write this image to an SD card, you’ll need a disk imaging tool. A popular one for Windows is Win32DiskImager (Disclaimer: I haven’t actually used Win32DiskImager with Raspbmc images, but it should work. If you try this, let me know if it’s successful.)
From here on out, I’m going to assume you’ll be using the Windows UI installer.
Installing Raspbmc
Before launching the UI installer, plug your SD card into your PC. When you fire up the Windows-based installer tool, you’ll see a window that looks something like so.
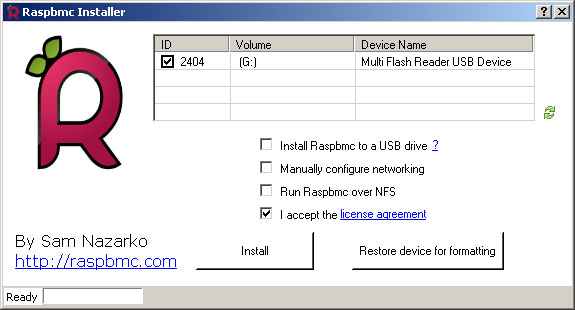
The Raspbmc Installer will scan your machine for removable devices on startup. If you plug in your SD card before firing up this utility, you should see it appear in the list. If it doesn’t show up, try restarting the installer. If the SD card still doesn’t appear after a restart, check to see if Windows sees the SD card. You may have bigger problems.
When selecting the device to write to, double-check and triple-check that you select the device that correctly corresponds to your SD card. Selecting the wrong device could be catastrophic to your PC, your data, and even your mental health.
The only other required checkbox here is “I accept the license agreement”. The other checkboxes do what they sound like.
If you plan to use DHCP with Raspbmc, don’t worry about the “Manually configure networking option”.
The “Install Raspbmc to a USB drive” option will allow you to install Raspbmc to another USB storage device plugged into the Pi. This could be another SD card entirely if you’re using a USB card reader/writer. But you’ll still need an SD card to bootstrap the install process, which will be the card you’ve selected in the installer.
Once you’re satisfied with your selections, hit the “Install” button. It’ll only take a few seconds to do what it needs to do. And after it’s finished, you’ll have a bootable SD card you can plug into your Raspberry Pi.
Raspbmc Setup First Boot
Once your SD card is all set, you’re ready to proceed with the rest of the Raspbmc installation. Before you go any further, make sure your Pi is powered OFF. Plug in your network cable, HDMI cable, mouse, and keyboard. If you want to use a remote control or WiFi adapter, leave them unplugged for now. Don’t worry. We can set those up later. Slide in your SD card and power up the Pi. Note: Plugging in peripherals while the Pi is on is generally a bad idea. Every time I’ve done this, my Pi has either locked up or rebooted. Consider yourself warned.
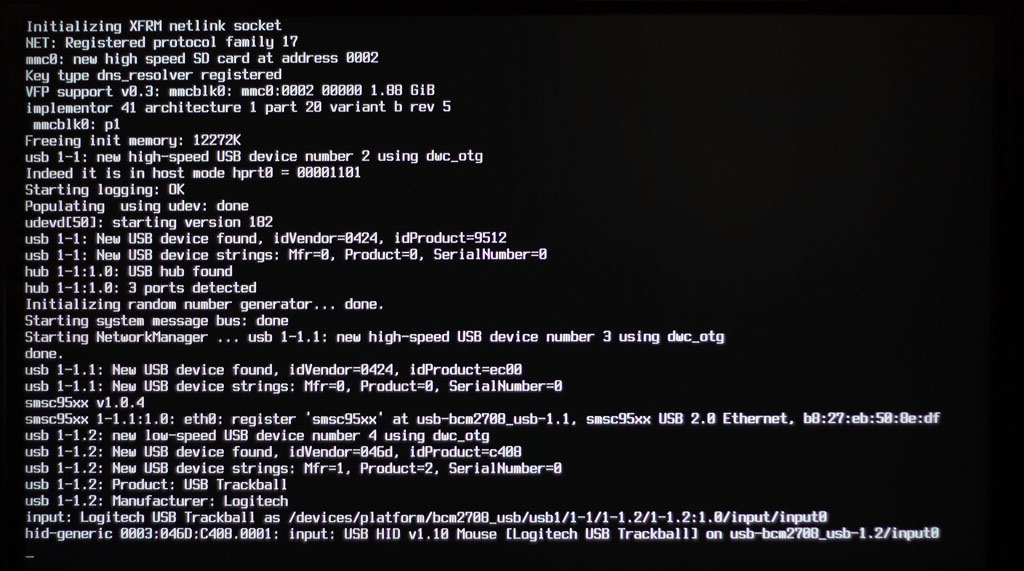
The very first time you boot from the Raspbmc SD card, you’ll see a screen that looks like so.

The installer’s version of Linux will then boot. This is where hardware and network detection occurs. If there’s a problem with either of these, you’ll see an error displayed here.
If all goes well, you’ll eventually reach a blue screen that displays a message like the following.
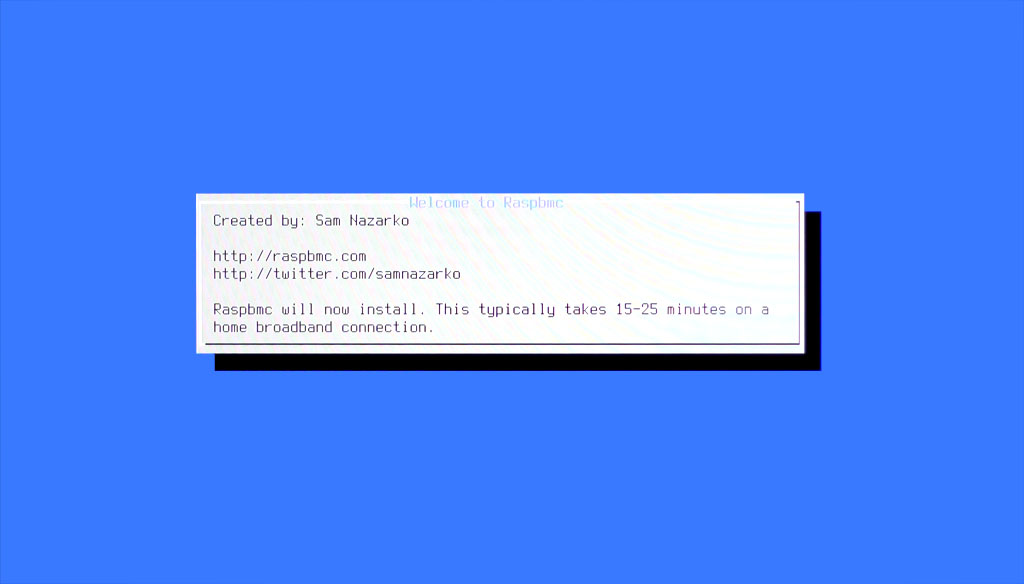
This is the point in the process where the meat of Raspbmc is installed. This part can take a while, typically somewhere between 20-30 minutes. It’s all automated. So feel free to go grab a coffee or a beer while all this is happening. But I suggest that you poke your head in from time to time to see what’s going on. The first time I installed Raspbmc, the device locked up during a reboot. I had to manually power cycle the device to make the install continue.
There are a number of things that happen during this process. Partitions are created and formatted, software gets downloaded, kernel modules are installed, etc. If you have the patience to watch the whole thing, you’ll notice the device even reboots a few times. The crude Linux text-based boot process will eventually transition to a much nicer boot splash screen.
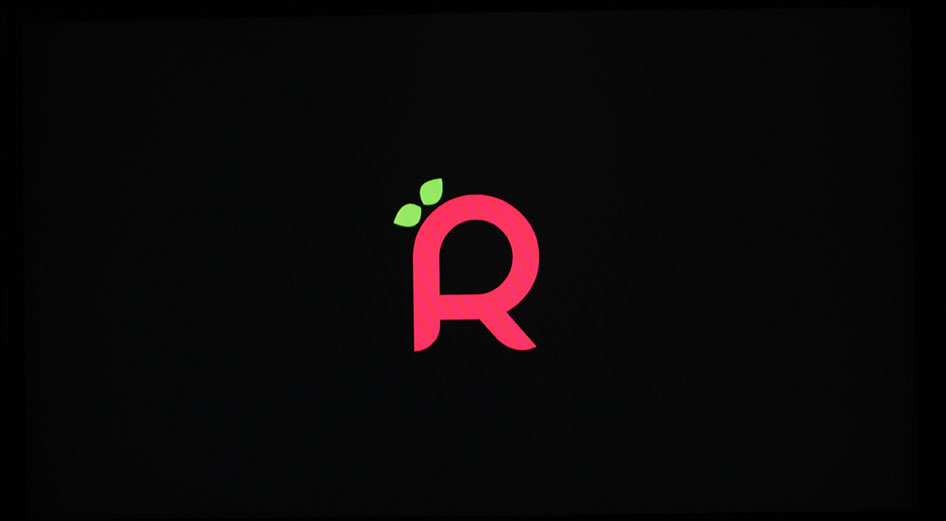
After 20-30 minutes and one final reboot, Raspbmc will start.
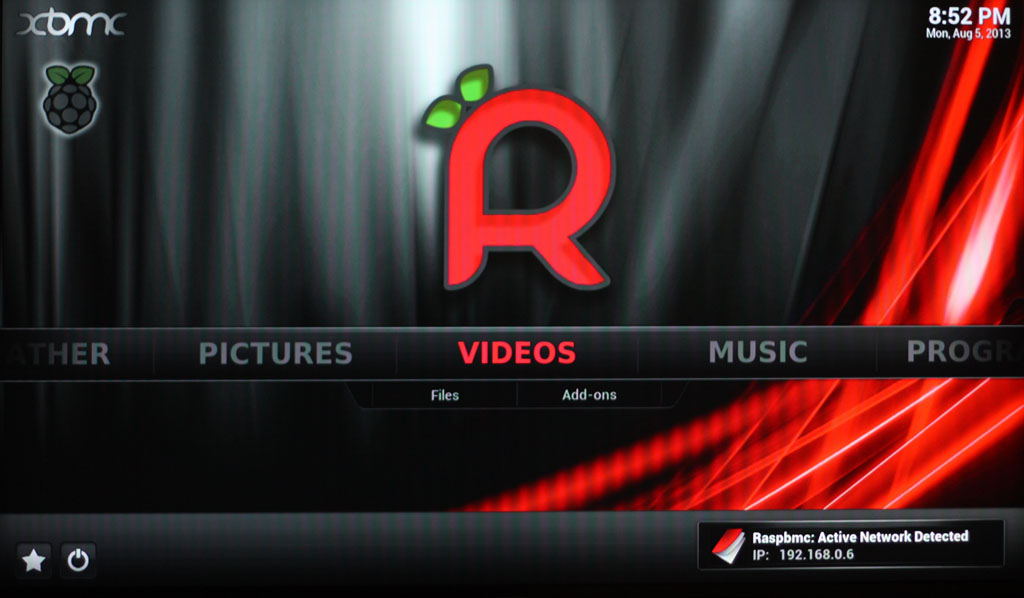
Configuring Raspbmc
When Raspbmc boots for the first time, you’ll be asked to select your language of choice.
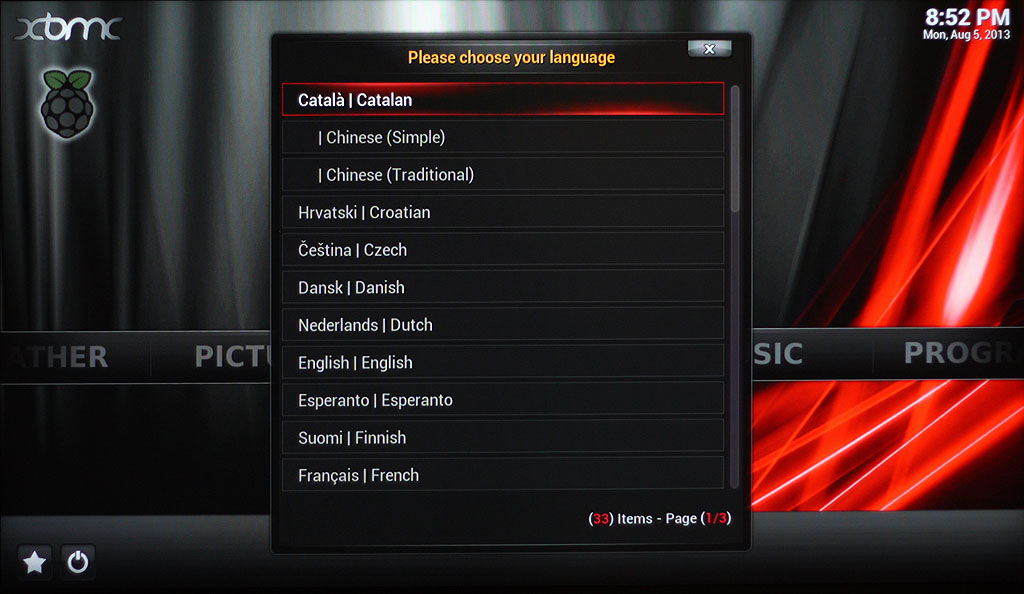
Using your mouse, select an appropriate language.
Raspbmc uses a time server to figure out the current time, but it can’t figure out your timezone automatically. So you’ll need to set this. The timezone setting isn’t in an obvious location. I actually spent a number of days staring at the wrong time, until I found the setting. You can find it setting under System->Appearance->International->Timezone.

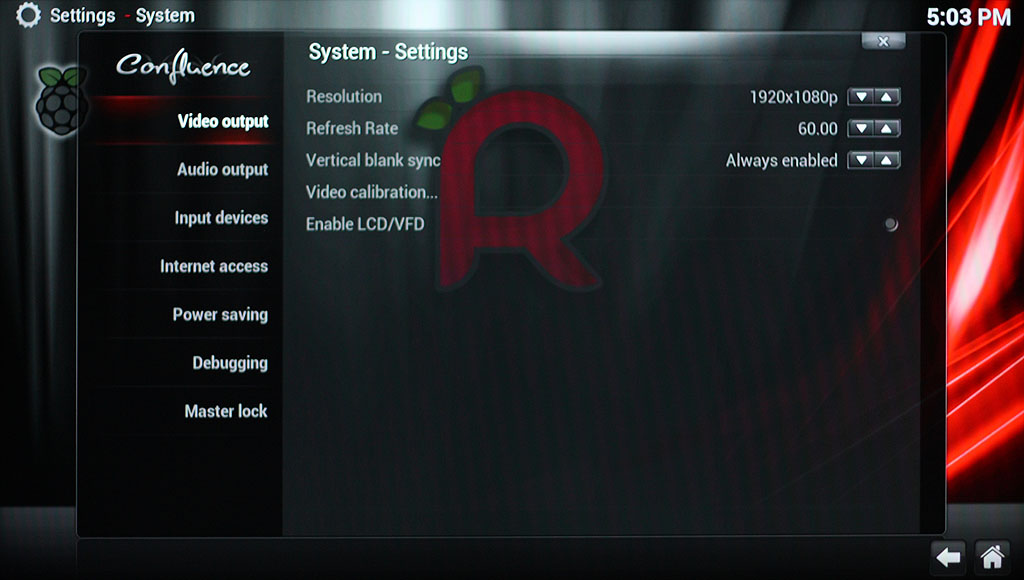
If you’d like to tweak your video settings, you can make changes under System->Video Output. I’ve been using my own device at 1080p without any problems. But others have reported a significant performance boost in the UI by switching to 720p. I recommend trying to use your device at 1080p. That way if you decide to switch to 720p, you’ll at least be able to gauge the significance of the performance boost.
Audio settings can be changed under System->Audio Output. This was one of the settings that I struggled to get right. For a short while, I used the mini jack connected to a stereo input on my audio receiver. Nothing I changed resulted in good audio. After a little Googling, I discovered many, many Raspbmc users complaining of noisy audio over the mini jack. I don’t know if it’s a hardware issue or a driver issue, but something isn’t quite right. The best thing to do is to set your audio output to HDMI. You’ll probably need to experiment with the rest of the settings to find a configuration that works best for you. My TV is currently connected to my audio receiver in stereo using RCA cables. So I set my speaker configuration to 2.0 and turned on “Output stereo to all speakers”. I turned off the “boost volume level” because I didn’t want any other audio processing occurring on the Pi. This resulted in the best sounding audio for my setup. This may take some tweaking to find a configuration that works best for you.

If you have a remote control or a WiFi adapter, this is probably a good point in the process to get those working. Before plugging anything into the Pi, you should power it down. Using your mouse, click on the power button in the lower left hand corner of the screen and select “Power off System”. Once the device has shut down, you can safely unplug your keyboard and mouse and stick them back in the closet. Plug in your IR receiver and/or WiFi adapter and power the Pi back up by unplugging it and plugging it back in. If your devices are compatible with Raspbmc, they should be detected automatically.
And that’s it! Your Raspbmc device is ready for use.
Adding Media
By now you’re probably itching to get some media playing on your device so you can see Raspbmc in action. Let’s try adding one of the great classics – “Night of the Living Dead”.
What’s needed is a location that Raspbmc can use to source video content. This can be another hard drive, a shared drive from another computer, or even a location on the SD card plugged into the Pi. I have a FreeNAS box on our home network that offers up a CIFS share (AKA a Windows share) for content. So that’s what I’ll be using here to illustrate the process. But if you want to put content right on the SD card, the easiest way to do that is to upload it using FTP (Username: pi, Password: raspberry). If you decide to go this route, I hope you heeded my advice in part 2 about getting a class 10 card.
From the main menu, select “Video”. You’ll see a menu that lists three items – Files, Playlists, and Video Add-ons. Select “Files” and then on the next menu select “Add Videos…”. This will present you with the following dialog box.

Click on the “Browse” button and you’ll presented with another dialog box that looks like so.

The list on the right represents all of the different storage/streaming types that Raspbmc supports for video content. If you used FTP to upload content to the SD card, select “Home Folder” and navigate to the location where you uploaded your content. If you’re using a CIFS network share, like me, scroll down through the list until you find SMB shares. SMB is an older name for CIFS. From here you can point Raspbmc to the computer and folder containing the content.
You’ll notice that you can also specify the type of video content this location contains. This will allow you to tap into one of the neatest features in Raspbmc. By indicating that a given folder contains TV shows, for example, Raspbmc will use the Online TV Database to fetch all sorts of information on the shows contained in that folder. This includes ratings, synopsis, actors, and, best of all, fan art and posters which will be displayed in Raspbmc. A similar thing happens with movies, the data source being The Movie Database.
After you select the folder, Raspbmc will scan its content and download fanart for media it can find online. The video content will then appear in your library. Highlight a movie in the menu and you’ll see its fanart appear on the screen, assuming Raspbmc was able to find it online.

Regarding MPEG-2 (DVD video) and VC-1 content, media of these types aren’t playable on Raspbmc without the appropriate licenses. But both licenses are dirt cheap and can be purchased from the Raspberry Pi Foundation. Adding the licenses into Raspbmc can be done in Programs->Raspbmc Settings->System Configuration->Advanced System Settings.
I’m not going to bother to explain the process for adding photos or music as it’s pretty much the same as adding video. If you’ve successfully added video to your device, you should be able to just as easily add other types of content.
Conclusion
At this point, you know enough to get started with Raspbmc. But we’re not done yet. In part four, we’ll talk about some of the issues I encountered after using Raspbmc for a few days, along with some ideas and tricks to make your Raspbmc experience much more fun. In the meantime, explore Raspbmc. Try out some of the settings and add-ons. You can’t break anything. The worst that can happen is you’ll need to reinstall Raspbmc. And now you’re a pro at that. 🙂
Good luck!