The Invitations
When Leora and I decided to design our own wedding invitations, I had no idea how far we’d go with it. Cake toppers weren’t even on our radar at the time. Our attitude was that we’d try to design our own invitations and if it turned out like crap, we’d find something nice online to use. We knew we wanted to create something fun that also represented who we are. But that was about it. We didn’t really have anything more specific in mind. Leora, the artistic one of us, decided to go off on her own and brainstorm. After returning from band practice one evening, I found these sketches sitting on our coffee table.


It was my task to take these drawings and turn them into something resembling wedding invitations. So I photographed them and brought them into Photoshop. I fired up the trusted pen tool and traced each body part onto a separate layer. After some coloring and some recompositing, I ended up with the image you see on the right.
Printed text always looks better when it’s sourced from vector artwork. So I did the rest of the invitation layout within Illustrator. I imported the raster from Photoshop and began experimenting with different designs. After a few days of messing about, Leora and I both settled on the following design.
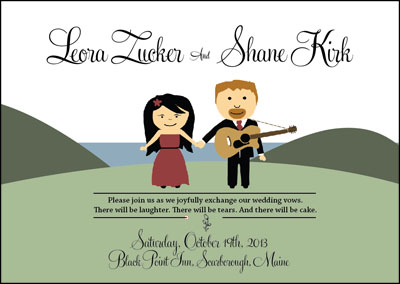
I then did a test print on my laser printer. The results were horrible. All of the Illustrator-drawn content looked wonderful, but the raster had an ugly discolored box poking through the areas that should have been transparent. I tried importing the raster as a transparent PNG, as well as importing the Photoshop file directly. I experimented with color settings, printer settings, document settings, PDF export settings, etc. And the results just went from bad to worse.
I realized I needed to start over…kind of. The raster image had to go. I needed to redo the artwork in a vector format within Illustrator. But the idea of retracing the drawings was a bit daunting. Fortunately, Illustrator has a tool that automates tracing.
Layer by layer, I exported everything from my original Photoshop file as a separate two-color image (black foreground, white background) and then let Illustrator trace it all. Once each element had been vectorized, I restored its original color. The test prints also proved to us that our colors were too strong. After all was said and done, we ended up with the following, which was much, much better.
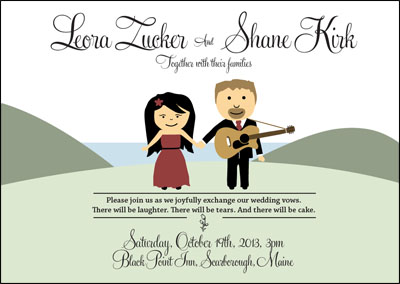
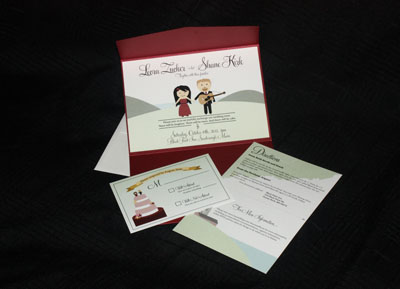
Now the test prints looked great. And because we were using vectors, it was much easier to reuse the artwork on our RSVP cards.
Wedding Favors
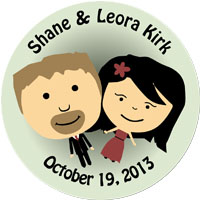
Next up – wedding favors! We struggled a bit with this. I really wanted 3D ViewFinders with custom reels. I was told it was too expensive, too ambitious. I also suggested miniature figurines of the artwork Leora drew for our invites. Again, too expensive, too ambitious. (See a pattern here?) Leora and her sister, Tal, had their own ideas – mugs, stickers, and a candy bar (as in a candy buffet). But because we didn’t have a large budget for favors, Leora decided that simpler was better – a small pouch with Maine candies and a custom magnet. Leora really liked the idea of reusing our invitation artwork. And because the artwork ended up being entirely vector-based, it was easy to change it up a little bit.
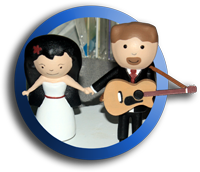
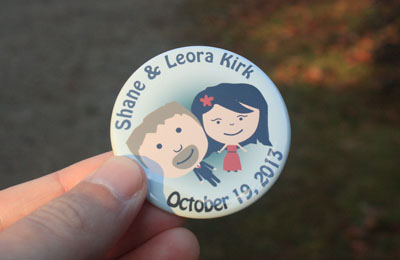
Leora found Maggie Mirror on Etsy. She produces round magnets. Our current artwork didn’t really work in a round context. So we spent an evening playing around with ideas, and came up with the artwork you see above on the left.
You can see a finished magnet below.
Cake Topper
A month or so later we were brainstorming cake topper ideas. At this point, we still hadn’t seriously considered trying to create our own. I spent a few nights looking around online to see what was out there. But nothing spoke to me. We had already used Leora’s artwork twice. So it had unintentionally become a theme of sorts. It didn’t take long before I became fixated on the idea of turning it into a cake topper.
My idea was simple – create a 3D version of the 2D artwork and then have it 3D printed and painted. A no-brainer, right? 🙂 Well, there were three problems with this idea – 1) My 3D modeling experience was EXTREMELY limited, 2) I didn’t have access to a 3D printer, and 3) I wouldn’t know how to print a 3D model even if I had access to a printer. An ordinary person would probably see these issues as serious impediments and direct their time and money towards more important things. Me? I saw 4 months that could be used for problem solving.
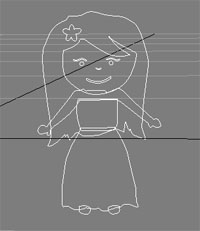 It’d been years since I had done any 3D modeling. Most of my experience came from modeling simple objects for use in experimental OpenGL projects in years past. But I figured that by using the vector artwork to guide the modeling process, I might actually be able to pull off a design in a reasonable amount of time that could pass for original. And that was kind of how I sold it to Leora. I asked her to give me two weeks and if I couldn’t do it in that time frame, we’d go another route.
So I pulled out my trusted, OLD version of 3DSMax and imported the Illustrator files. The Max-fu came flooding back to me. With the outlines to guide me I was able to create the basic shapes for the figurines out of primitives. Using vertex editing mode with soft selection, I was able to “flesh” out models over the course of a week fairly easily.

Now I needed to get the thing 3D printed. Shapeways.com helped me out with that. If you’ve used online photo printing services like Ofoto.com, KodakGallery.com, and Shutterfly.com, Shapeways is kind of like that. But instead of printing photos, they print models. You upload your 3D models to them, pick the material you want to use, and they handle the rest.
Before you upload your models, you have to verify that they’re watertight. Conceptually, that means if the model were to be filled with water, would it leak anywhere? In other words, are there holes (intentional or otherwise)? The tool they recommend for checking this is called AccuTrans3D. AccuTrans3D is primarily a tool for converting from one model format to another. It has a ton of great features, including the watertight test. And the demo version of the software, which only works for a limited time, was enough to test out my work. Shapeways even has a little AccuTrans3D tutorial on their site to help you check your model over. Despite the simplicity of my models, AccuTrans3D actually caught a few problems which, of course, required some rework in Max.
The first time I uploaded my 3 models to Shapeways, I was puzzled. On the website, the models appeared severely faceted. I was convinced that I had done something very wrong and that my inexperience was going to result in some ugly figurines.
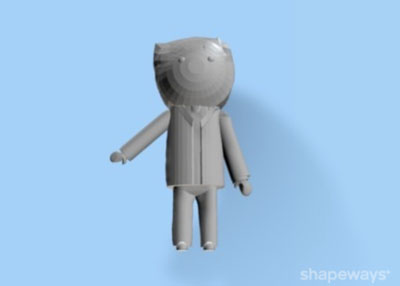
To make matters more confusing, when I viewed them in Max or AccuTrans3D, the models appeared very smooth.
After some time poking around on forums and blogs, I learned that most modeling tools perform smoothing as part of the rendering process. It’s a post-processing kind of thing. This is why my models always look good on the screen. 3D printers are dumb devices and don’t support this kind of magic internally. So I needed to figure out how to smooth out the models manually.
The solution for this is surface subdividing. It increases the complexity of the model by increasing the number of vertices used to represent it. If the subdivision is done right, you can make a model’s surface appear to have the same smoothness you see during the rendering process. 3DSMax has a couple of modifiers that make this easy to do. I chose to use TurboSmooth. Here you can see a before and after wireframe.
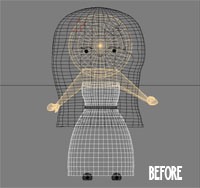
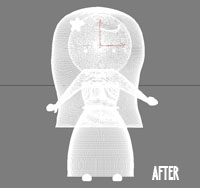
It didn’t take me long before I realized doing this consumes vast amounts of memory. The resulting file also becomes monstrous in size. My first few passes at using TurboSmooth resulted in repeated 3DSMax crashes and a file size that exceeded Shapeway’s file size limit of 64MB by hundreds of megs.
Once I managed to get TurboSmooth under control, I reuploaded my models to Shapeways. The preview looked a lot better as you can see.
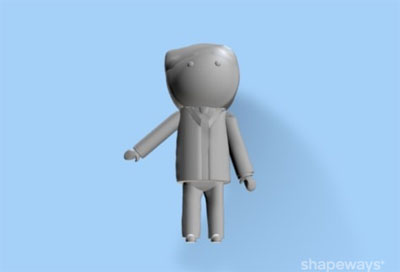
It cost me right around $100 to print all three pieces. The pricing is based on the type of material you use and how much is needed. We used their “White Strong & Flexible” material, which is a type of nylon. The turn around time was about two weeks, which was fairly impressive all-considering. When they finally arrived, they looked like this.
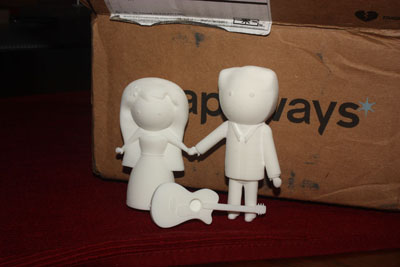
They were kind of heavy for their size. And because they were extremely porous, they had a weird chalky feel to them.
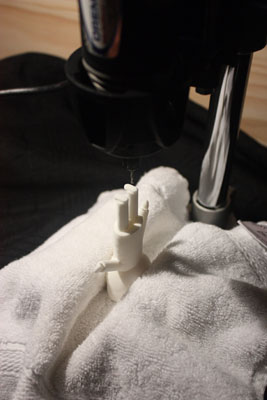
Before we began painting them, I wanted to solve the mounting issue. I had planned on attaching them to some sort of platform with finishing nails. All of the Star Wars action figures I played with as a kid had holes on the bottom of their feet that allowed them to be attached to various playsets. I thought that might work here. So I pulled out my Dremel drill press and went to work.
The thing about drilling plastic is that you have to be fast about it. If the drill bit spends too much time in the hole, the plastic heats up and starts to melt. It’ll coat the drill bit and the hole itself will end up wider than you had intended. This was how the first hole ended up. I inserted a finishing nail as a test and it was extremely loose. The next three holes I was a bit quicker with, and the finishing nails fit nice and snug.
Now we were just about ready to paint.
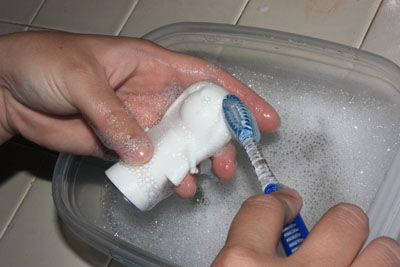
Before we went any further, we washed the models to remove any residual oils and residue left over from the printing process. We stuck them in a tupperware container with water and dish soap and then gave them a light scrubbing with an old toothbrush.
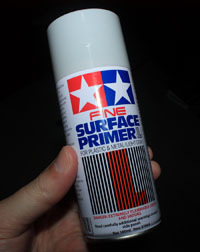
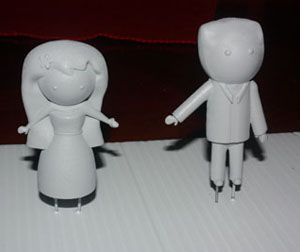
Next, it was time to prime the models. As I mentioned, they were extremely porous. If we had simply applied paint, I’m pretty sure the model would have soaked it up in weird ways and it would have looked uneven. I picked up a can of gray Fine Surface Primer from Tamiya America and over the course of the next few days, we applied around 7 light coats. The end result was much, much smoother.
Leora and I had a really difficult time finding flat enamel paints in the colors we wanted. Surprisingly, the Internet wasn’t much help. I checked out online hobby shops, Amazon, ebay, etc. And pickins’ were slim. As a last resort, we visited our local hobby shop, Ray and Robin’s and, as luck would have it, found exactly what we needed. We came home with an assortment of flat enamel paints from Testors.
Now it was time for Leora to do her magic.
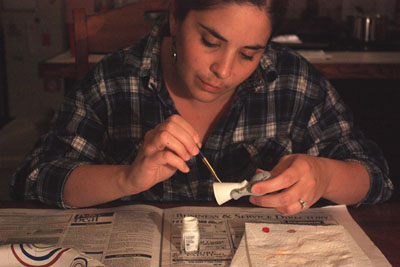
After they were painted, we glued on the guitar using some Loctite glue for plastics. We also hot-glued on a little guitar strap. We found a little heart-shaped wooden platform at one of the local craft stores and this was the end result.
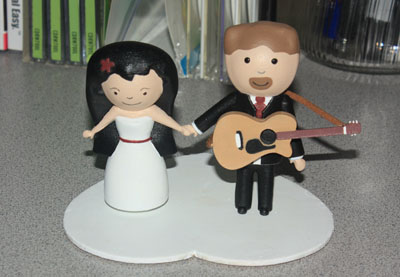
Was it a lot of work? Heck, yeah. But it was also a lot of fun and extremely challenging. Leora and I both stepped outside our creative comfort zones on this one. But the cake topper turned out great. And I’m sure we’ll cherish it for the rest of our lives.
