
 Wire Beings is an open source robotics project that’s easy to build, easy to extend, and lots of fun. And because it’s design is so simple, it makes a great project for introducing robotics to kids. STEM leadership in schools should take notice. This could be a fantastic project for use in the classroom. There’s a little bit of everything here – mechanical design, electronics, and embedded software.
I came across the Wire Beings project on Hackaday a few months back and decided to give it a whirl. As you can see from the video below, this little guy is pretty mobile. I was driving it from my phone over Bluetooth, but there’s also support for obstacle avoidance and voice control modes.The eyes change color too.
For those who are also interested in tackling the project, here are a few things to consider before and during the build.
Pros
There are no kits or expensive parts to buy. Everything is open source. The body of the robot is completely 3D printed. Matthew Hallberg, the Wire Beings creator, provides all of the STL files on his website to download for free. Everything else you need can easily be found on EBay.
The whole thing is designed around an Arduino Uno, which directs the motor controller and controls the LEDs. If you’re Arduino-curious, this is a great first-step into that universe.
Assuming you already have access to a 3D printer, the whole bot can be built for somewhere between $50 and $75.
Cons
The frame is large and bulky. If you don’t already have access to a 3D printer, forget using a 3D printing service like Shapeways as you’ll easily spend over $1000 on printing alone. It’s cheaper to just buy a 3D printer.
A 9V battery is not really sufficient for this project. You’ll go through a lot of them once you get this thing up and running. The motors drain the battery fast. A good first enhancement would be to get the robot running off a LiPo. This may not be suitable for young kids though, as LiPos are dangerous.
Some of the frame pieces have little inner tabs that the screws drive into. They’re extremely delicate. Many of these will break and you’ll have to resort to super glue to keep things together.
Tips
Test your connections as you go. Once you get the motor leads connected to the motor controller, wire everything up and test connections immediately and continuously as you build. Otherwise, you chance getting something wrong and having to disassemble the robot in order to troubleshoot.
By wary of cheap Chinese 9V batteries. I bought a large pack that all show as full with a battery tester. As soon as I put a decent load across them, however, the voltage drops to around 5-6 volts. They can’t source enough power to drive the motors and the Arduino browns out a lot. I wasted a few bucks on these. Of course, once I popped in a fresh Duracell everything worked fine.
The frame design has a spot for a 9V battery, but I couldn’t for the life of me figure out how to change the battery without taking the whole robot apart. So I velcroed the battery holder on the back of the robot for easy access.

There appears to be a missing ground connection on the circuit diagram. You’ll need a ground wire coming off the Arduino Uno to the row of ground connections on the mini-breadboard.
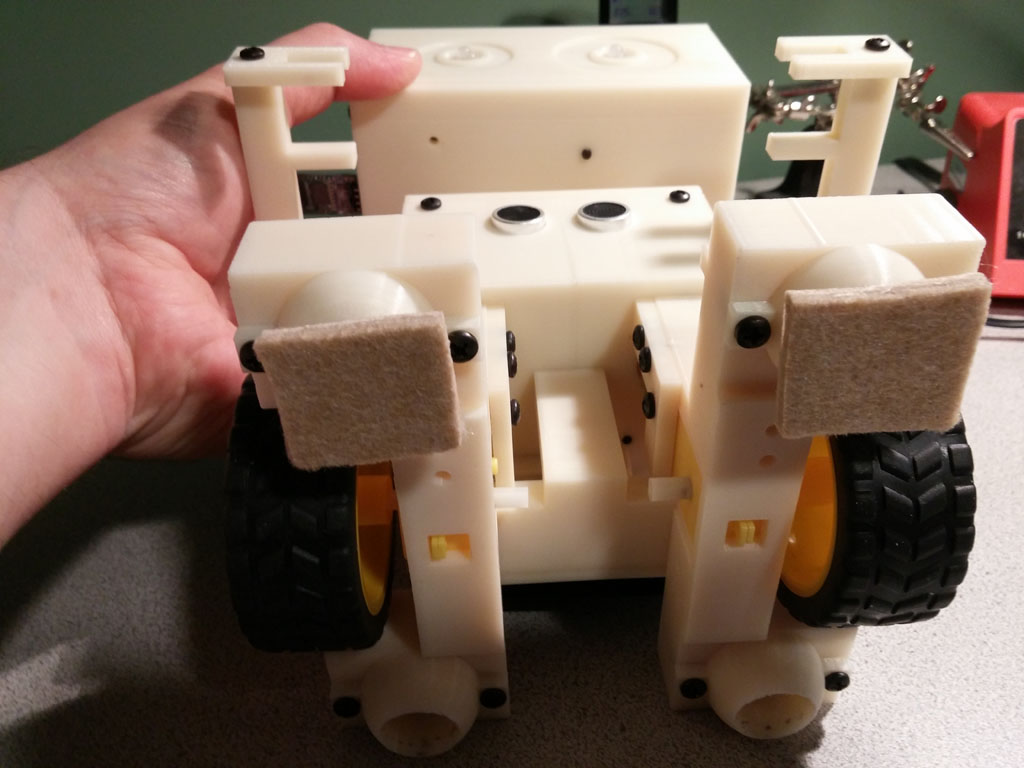
I had some issues with the castors/spheres on the feet. At first I thought the spheres were too small because they didn’t fit snug into the castors. They’d fall right out. I then tried swapping in some 19.5mm steel balls. They fit well into the castors, but caused ground clearance problems with the wheels. I think maybe I screwed something up on the castor prints. It could have been due to bad infill settings. I’m not entirely sure. So I decided to forgo the spheres/balls altogether and stick some felt pads to the bottom of the feet. Those work fine so long as I only drive the robot around on smooth floors.
If you’re interested in adding servos for neck, arm, and antenna control or voice control, see the comments on the Instructables page. There’s some good information in there.
Conclusion
This project provides a great introduction to electronics and mechanical design. It also leaves a lot of room for improvement. And that’s a good thing! Get creative and have fun with it.
-Shane
Do you have a correct sketch voor the ardiuno board? The sketch from Matthew don’t work with me
Tim, Matthew’s sketches works just fine for me. Which one(s) are you having problems with? And how’s it not working? Are you able to compile and upload to the Arduino ok? Is it the Android app you’re having problems with?